-
×
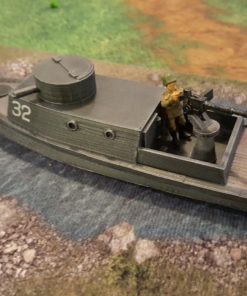
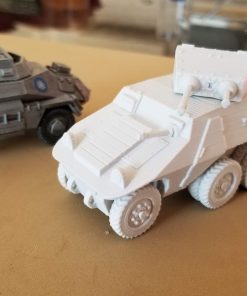 Steyr ADGZ Armoured Car - Revised - for FDM and Resin
- Created by:
DeweycatProductions
Subtotal: $5.00
Steyr ADGZ Armoured Car - Revised - for FDM and Resin
DeweycatProductions
Subtotal: $5.00


$10.00
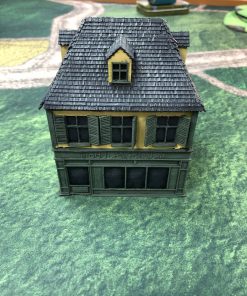
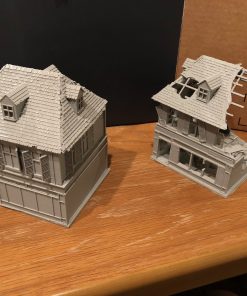
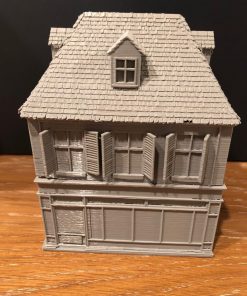
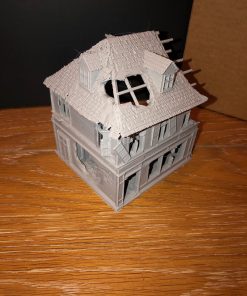
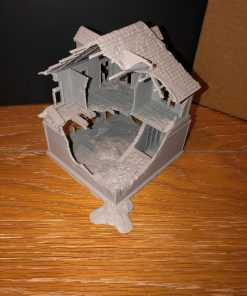
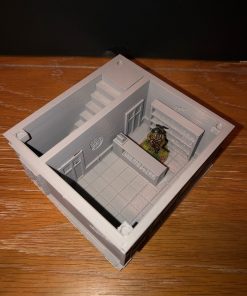
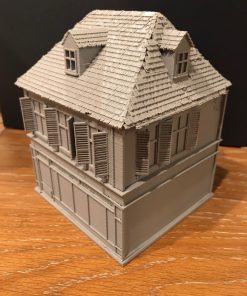
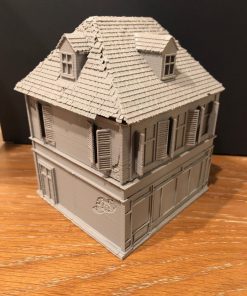
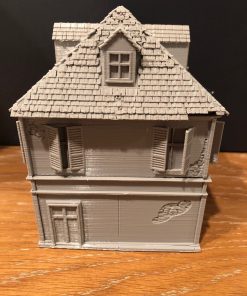
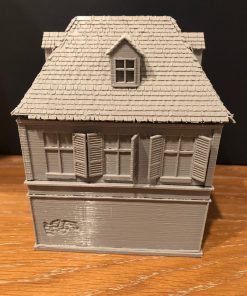
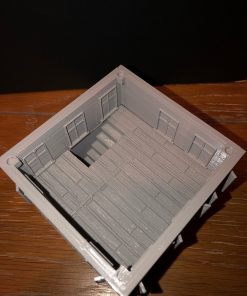
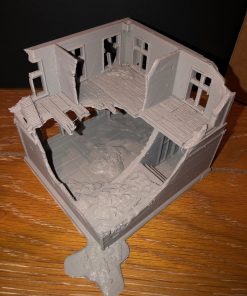
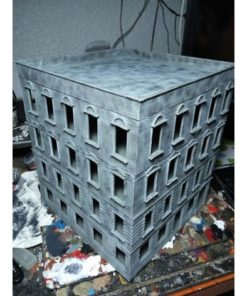
This file set is designed to create a detailed model French bakery. With over 30 different files this set is completely customizable. The core of this set is the bakery, or generic shop if you prefer. There is also a ruined version to serve as a separate building, or a replacement to display the building being destroyed as can happen in many gaming systems. 3D printing allows for what would normally be overly time-consuming detail to be only a few extra hours of printing. My hope is that with these sorts of files you can create a building that is yours, and brings engagement and immersion to your tabletop.
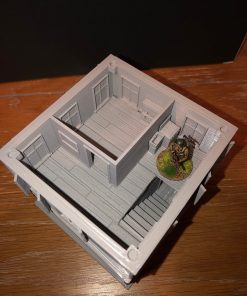
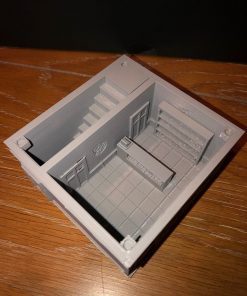
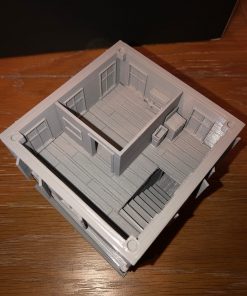
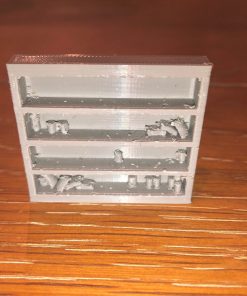
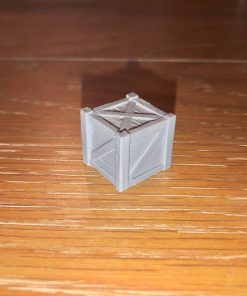
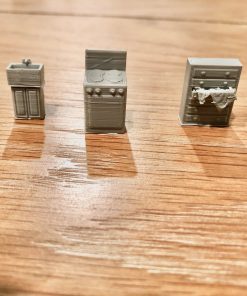
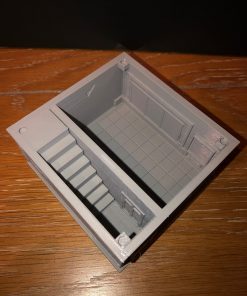
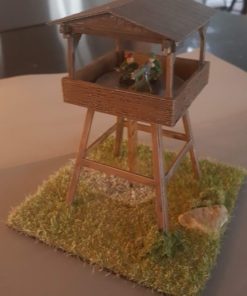
The building has a fully detailed interior with three levels. It is originally designed to be used in conjunction with 4mm magnets to keep the floors together, but i have included a peg that works as well. I added a few bits of “furniture” ovens, dressers, shelves and the like. These are optional prints that you can incorporate as you see fit in or outside to spark your imagination. (Additionally, they would look great in the ruin.)
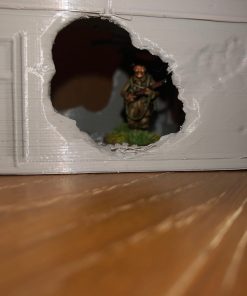
Everything has been designed with the war gamer in mind, I tried to make the interior as accessible as possible for models. If that is a concern, you can always leave out all the extras, and each floor will be completely open!
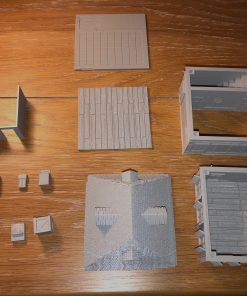
Often, I have made the wood textured floors separate from the walls. In my experience, printing the floors upright has allowed for smoother detail especially with the wood boards.
The included files are:
Shop
1st Story
Story 2
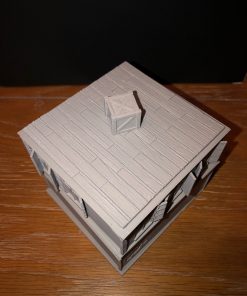
Roof/Attic
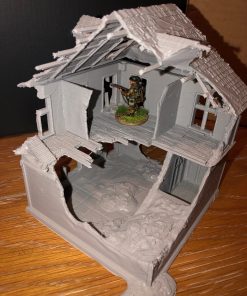
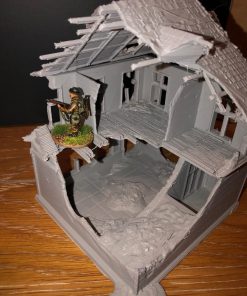
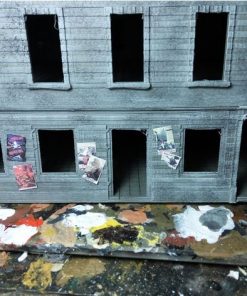
RuinedShop
Misc
My suggestion on the ruin would be to glue the roof the the attic floor. This helps with stability as the whole thing is quite precarious. Best case would be to glue all 4 pieces together but I left your options open. Of course the Ruin could be configured as 1,2, or 3 stories to your preference.
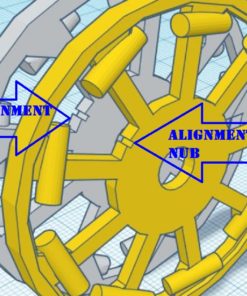
As shown in pictures, all pieces have been extensively tested and reworked. With the exception of the furniture, everything was printed at .2 mm layer height on an Ender 3 Pro. Small, high-detail bits were printed at .1 mm layer height. I generally use fat dragon games terrain settings for Cura to slice and that has given me the depicted results.
This has been a great learning project for me and I hope you enjoy. Any comments or questions are absolutely welcome. Of course, if there are issues, let me know and I will work to sort them out.
You are not logged in

Reviews
There are no reviews yet.