Setup Guide: Octoprint for Remote Printing and Monitoring
When I first got my printer, I was living in a one bedroom apartment, where my computer and my printer were all in one place – the bedroom (much to my wife’s annoyance). More recently we’ve moved to a two story house plus basement, and my 3D printer is in the basement hobby room, while my computer is upstairs. This meant that every time I wanted to update files, I’d have to run downstairs, stop printing, remove the SD card, carry it upstairs, put it into a USB adaptor, copy files across, then run downstairs, put in printer on and start printing. After a while this becomes a real pain, and also slows down your workflow considerably. Add in the risk of failed prints and messy cleanups, and you really start to want a way to remotely control your prints as well as monitor them for any 3D printing disasters.
This is where Octopi comes in, a Raspberry Pi distro that allows you to control 3D printers over the web or a local area network. What is Raspberry Pi you ask? Let’s get Wikipedia to answer that:
The Raspberry Pi is a series of small single-board computers developed in the United Kingdom by the Raspberry Pi Foundation to promote teaching of basic computer science in schools and in developing countries. The original model became far more popular than anticipated,[8] selling outside its target market for uses such as robotics. It does not include peripherals (such as keyboards and mice) and cases. However, some accessories have been included in several official and unofficial bundles.
The organisation behind the Raspberry Pi consists of two arms. The first two models were developed by the Raspberry Pi Foundation. After the Pi Model B was released, the Foundation set up Raspberry Pi Trading, with Eben Upton as CEO, to develop the third model, the B+. Raspberry Pi Trading is responsible for developing the technology while the Foundation is an educational charity to promote the teaching of basic computer science in schools and in developing countries.
According to the Raspberry Pi Foundation, more than 5 million Raspberry Pis were sold by February 2015, making it the best-selling British computer. By November 2016 they had sold 11 million units, and 12.5m by March 2017, making it the third best-selling “general purpose computer”. In July 2017, sales reached nearly 15 million. In March 2018, sales reached 19 million.
Or to put it simply, it’s a $30-50 mini computer that you can do lots of different things with, from retro gaming, to home theatre, to controlling your 3D printer! Octoprint is great for anyone doing a lot of 3D printing, as it gives you a web interface that you can use to drag and drop .gcode files, arrange files by folder structure, start, stop, monitor prints and more. You can even add a webcam or use it via 3rd party apps. Best of all it’s (relatively) easy to setup.
First you’ll need to get yourself a raspberry pi, which you can get easily from Amazon or Ebay. You’ll need to choose whether you want to attach a screen (I chose a small LCD screen so I can login on the machine, while those of you with more experience with Linux and other similar operating systems will be more comfortable remoting in, regardless, I suggest doing setup with a screen attached for ease of use). You can also choose whether to get a pre installed setup, one word of warning however – I did this and my memory card was dead on arrival, causing me lots of confusion, so I ended up having to install it myself which wasn’t that hard, if you want to purchase the one I did, here is the eBay link.
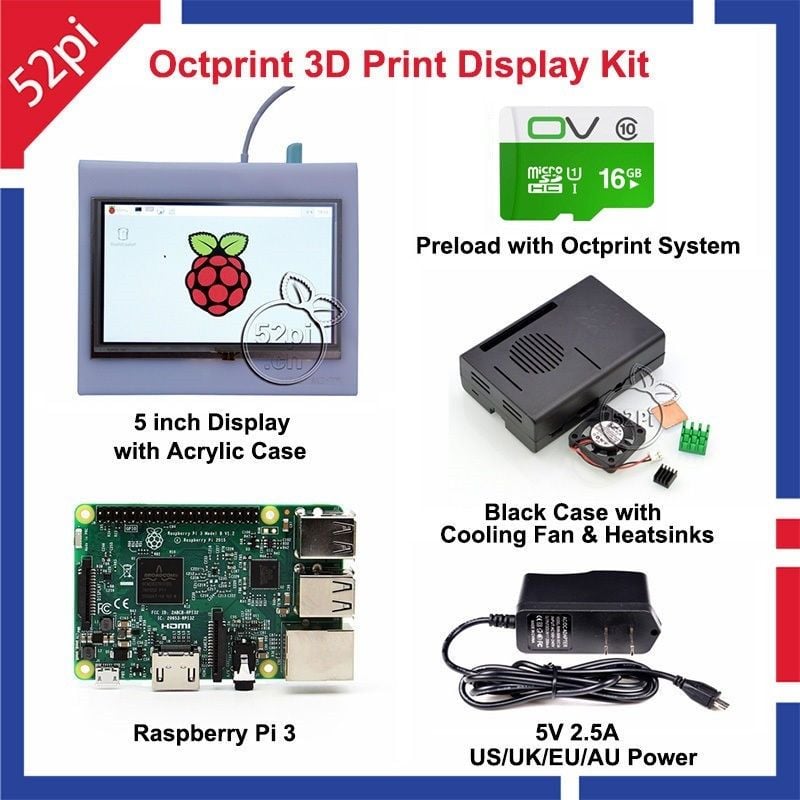
Heres what you’ll need:
- Raspbery Pi with Wifi/Ethernet connection + Power Supply
- Micro SD Card
- 3D Printer
- Monitor or Screen + Keyboard (Optional, but far easier than remoting in)
- Case (Optional, but recommended)
- Laptop or Computer
- A webcam (Optional, I used a PS3 Eye, because they are only $2 on Amazon or from Gamestop now)
Note, that this tutorial will be from the perspective of a Mac User, but it’s a very similar process on a PC. You can check out PC tutorials here, here, here or here.
Step 1: Download Octoprint
First you’ll need to go to the octoprint website and download the latest stable build of Octopi. This will be the modified operating system for your raspberry pi that you’ll be installing onto your SD card. The file is about 568 meg, so should take a couple of minutes to download on a fast connection, longer if you .. ahem… don’t.

Step 2: Unzip Octoprint
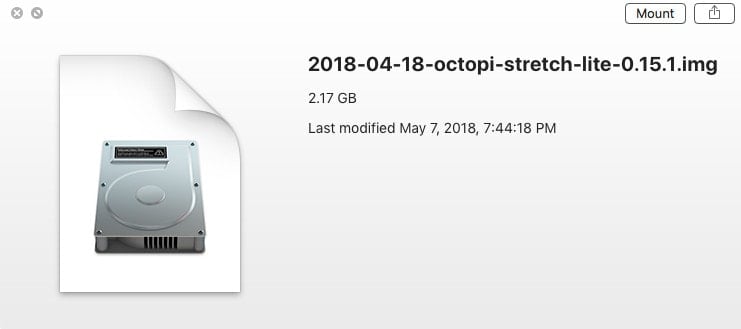
Find the file you downloaded it and unzip using whatever utility you use. I use The Unarchiver.

You should end up with a file similar to this (though it might be named slightly differently depending on what build it is:
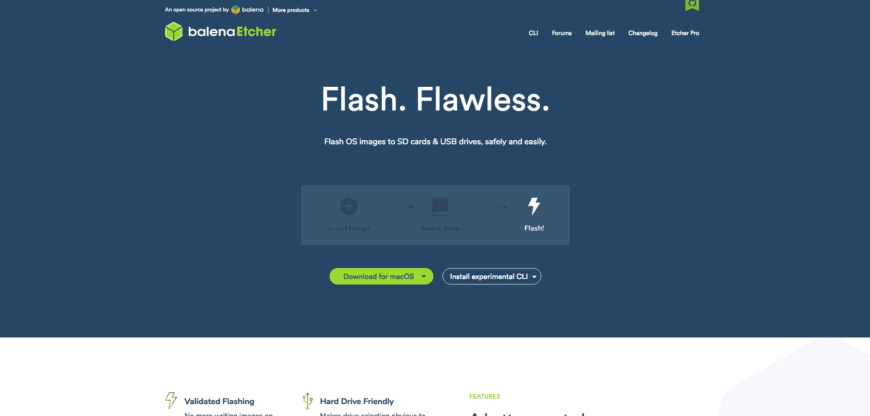
Step 3: Download Etcher, Install and Load .img file to the SD Card
You’ll need something to load this .img file onto your micro SD card, and that thing is etcher. Head over to https://www.balena.io/etcher/ and download the appropriate version for your computer and install.
You’ll then want to put the SD card into your computers SD slot (or if the SD slot is broken, like on my 8 year old Macbook pro, use a USB adaptor, which can be picked up for around $10 on Amazon, and chances are you were already using one to load files onto your printer… right?) and load the .img file onto it using etcher. Make sure you select the right drive, load the img file and click “flash”. Etcher will then load the disk image for you. Safely remove the SD card by dragging into the trash to unmount it, then remove from device.
Step 4: Update Wifi Settings
Place the SD card back in the computer and you should see a new device called “Boot”. Navigate to a file called “octopi-wpa-supplicant.txt” and open it using Sublime Text (You do have sublime text right? If not, download it here. Do not use txtedit or similar the different characters can mess with the code). This is where you’ll add your wifi network settings. Add your SSID and your password for your network, uncomment the lines by removing the “#” and then save the file. After you’ve saved the file, safely remove the drive by dragging into the trash then pull it out.
Note: I screwed this up the first time, but don’t panic If this doesn’t work for you, there are ways of updating it directly from the Pi if you have a screen.
Step 4: Sacrifice some alcohol to the computing gods.
Grab a beer, you’ll need it if things don’t work. If they do work, you’ll want to celebrate. I prefer a ballast point sculpin, but that’s just me.
Step 5: Put it all together and turn it on
This step is assuming you’ve followed the instructions to actually physically build your raspberry pi that came in the box, so I don’t get into that, but place the micro SD into the slot, plug a screen and keyboard into the HDMI and USB connections, and plug in the power. Hope that your alcohol sacrifice worked. You should see it booting up, chances are you’ll get a screen asking for you to login. For those who are smarter than me you can remote in to login using something like putty, but for me, with my little LCD screen and keyboard, I just type in the user/pass which by default are “pi” and “raspberry”. You’ll need to change these if your machine is facing the internet.
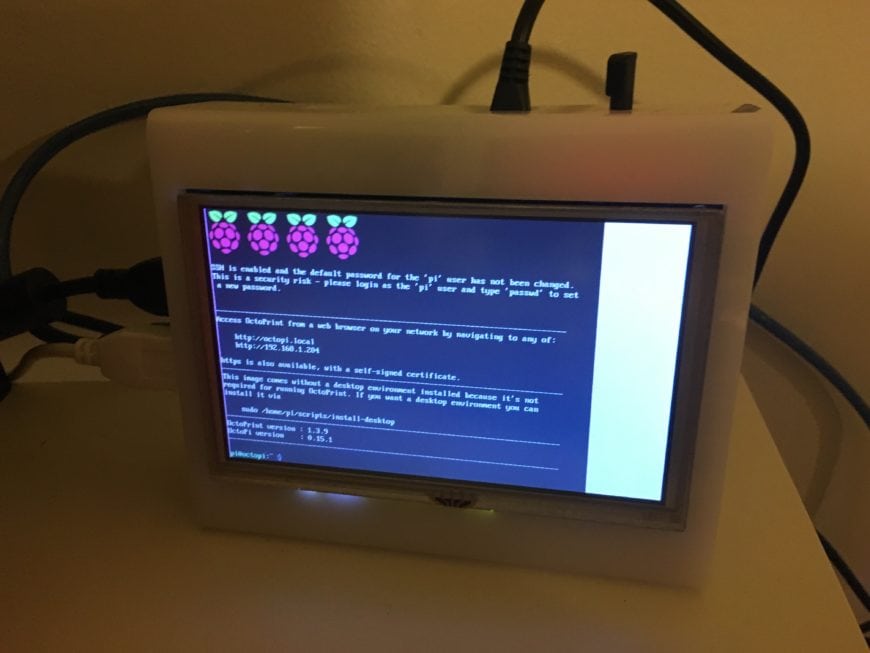
Once logged in, it should confirm, showing the IP address and hopefully the URL http://octopi.local/
Step 6: Now the fun begins – configuring the octopi
Grab your laptop or device that’s on the same network and navigate to http://octopi.local/. It’s time to start setting up your octopi. Go through and pick a username and a password, note that these are different to the username and passwords above, and are for the web interface of octopi, rather than access to the rapsberry pi itself. Choose a decent password, you don’t want someone accessing it remotely and burning your house down with your 3D printer. To start with, just select the default options for everything to get it up and running, you can tweak these later.
Step 7: Connect your 3D Printer
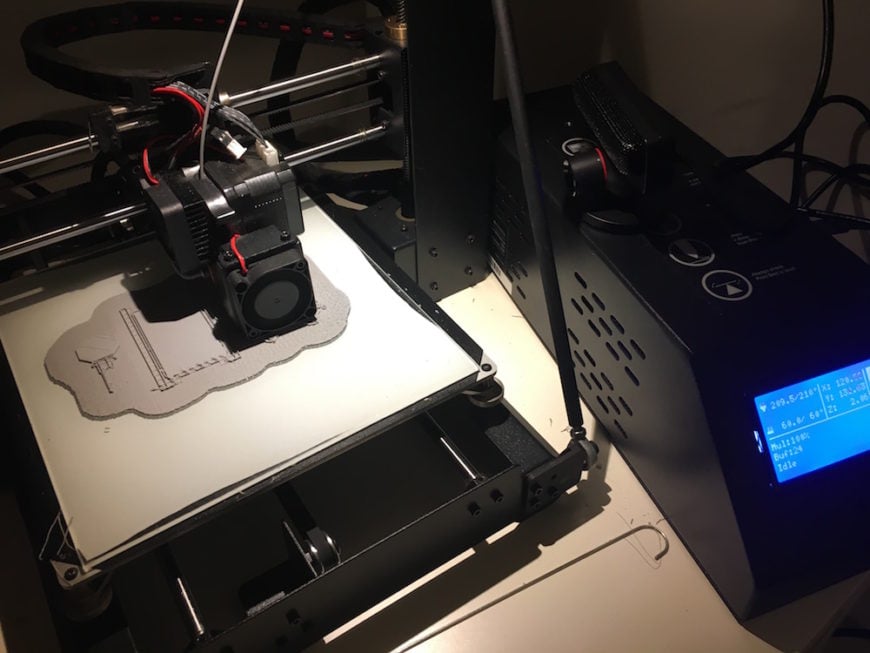
Connect your 3D printer via USB to the Raspberry pi, turn it on, and hope for the best. If you have a Monoprice Maker Select V2 like me, you’ll need to do a few extra steps, as chances are it won’t connect. Go to the settings (wrench icon) and choose “plugin manager” under octoprint, find “Malyan/Monoprice Connection Fix” and install. Now you should be able to click connect and see your printer!
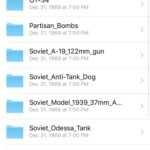
Step 9: Load up some files and get printing
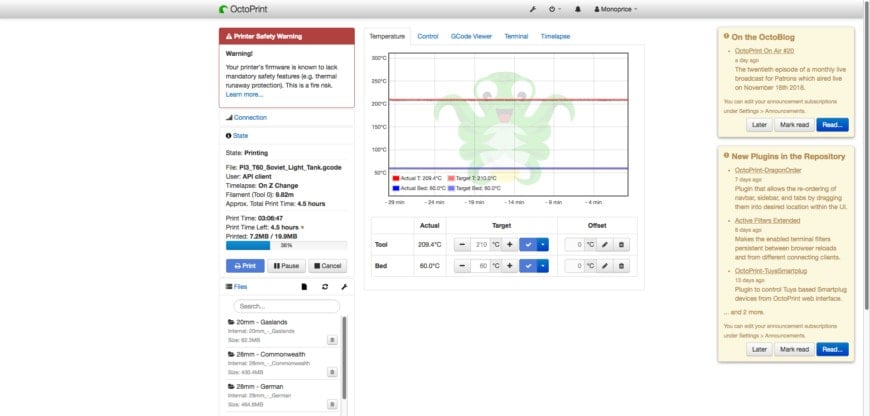
Now for the easy bit, simply drag and drop your .gcode files onto the file folder, then select one and hit print. Your status will now show on the screen. It’s that easy. Ok, it’s not easy, I screwed up a few things the first time around, but you’ll get there.
Bonus Mission: Remote Camera Monitoring
I never realised how much I wanted this until I actually had it. First, get yourself a webcam that is compatible with Octprint but checking here. Or save yourself the hassle and just get a $2 PS3 eye from Gamestop. It’s cheap and it works pretty much out of the box.
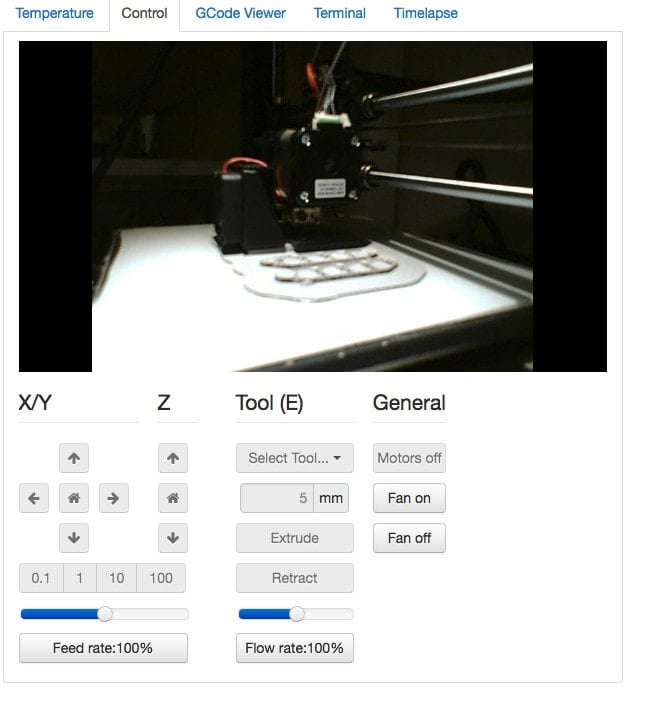
Remove the SD card from your Pi, place it in computer and navigate to: /boot/octopi.txt or /root/bin/webcamd (depending on version) where you’ll want to update to: “camera_usb_options=”-f 1 -q 75 -y” more detailed instructions (that I used) can be found here.
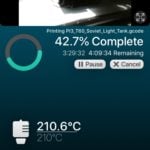
If you are lucky, it should just work, and give you a result like this:
Super Bonus Mission: Control from your phone
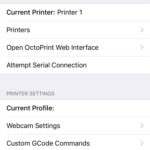
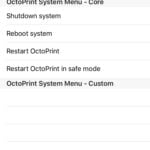
Now for the easy part, all you need to do is download an app. Theres a free version, but I paid the $3 for the upgraded version because I use it all the time and like it. I have no idea if I use any of the additional functionality, but I do believe in paying for stuff you want to see continued development of. If you have an iphone, search on the app store for “Octoclient” and download it. Login and you are good to go.
And that’s that – you should be fully set up to print from any device attached to your local network. If you want to access your Octopi from outside of your local network (which I haven’t done yet), it’s possible, but requires a bit of work using plugins – here’s how you do it according to the official octoprint website.