WWII French Laffly S15R Reconnaissance vehicle at 1/56 scale for resin printing
- Description
- Reviews
- Files
Having developed the Laffly S15T as a design request back in September 2020 I wanted to gain better value from the many hours it took me to develop that initial vehicle. This led me to start on the road of developing the other vehicle variants based on the Laffly Chasis.
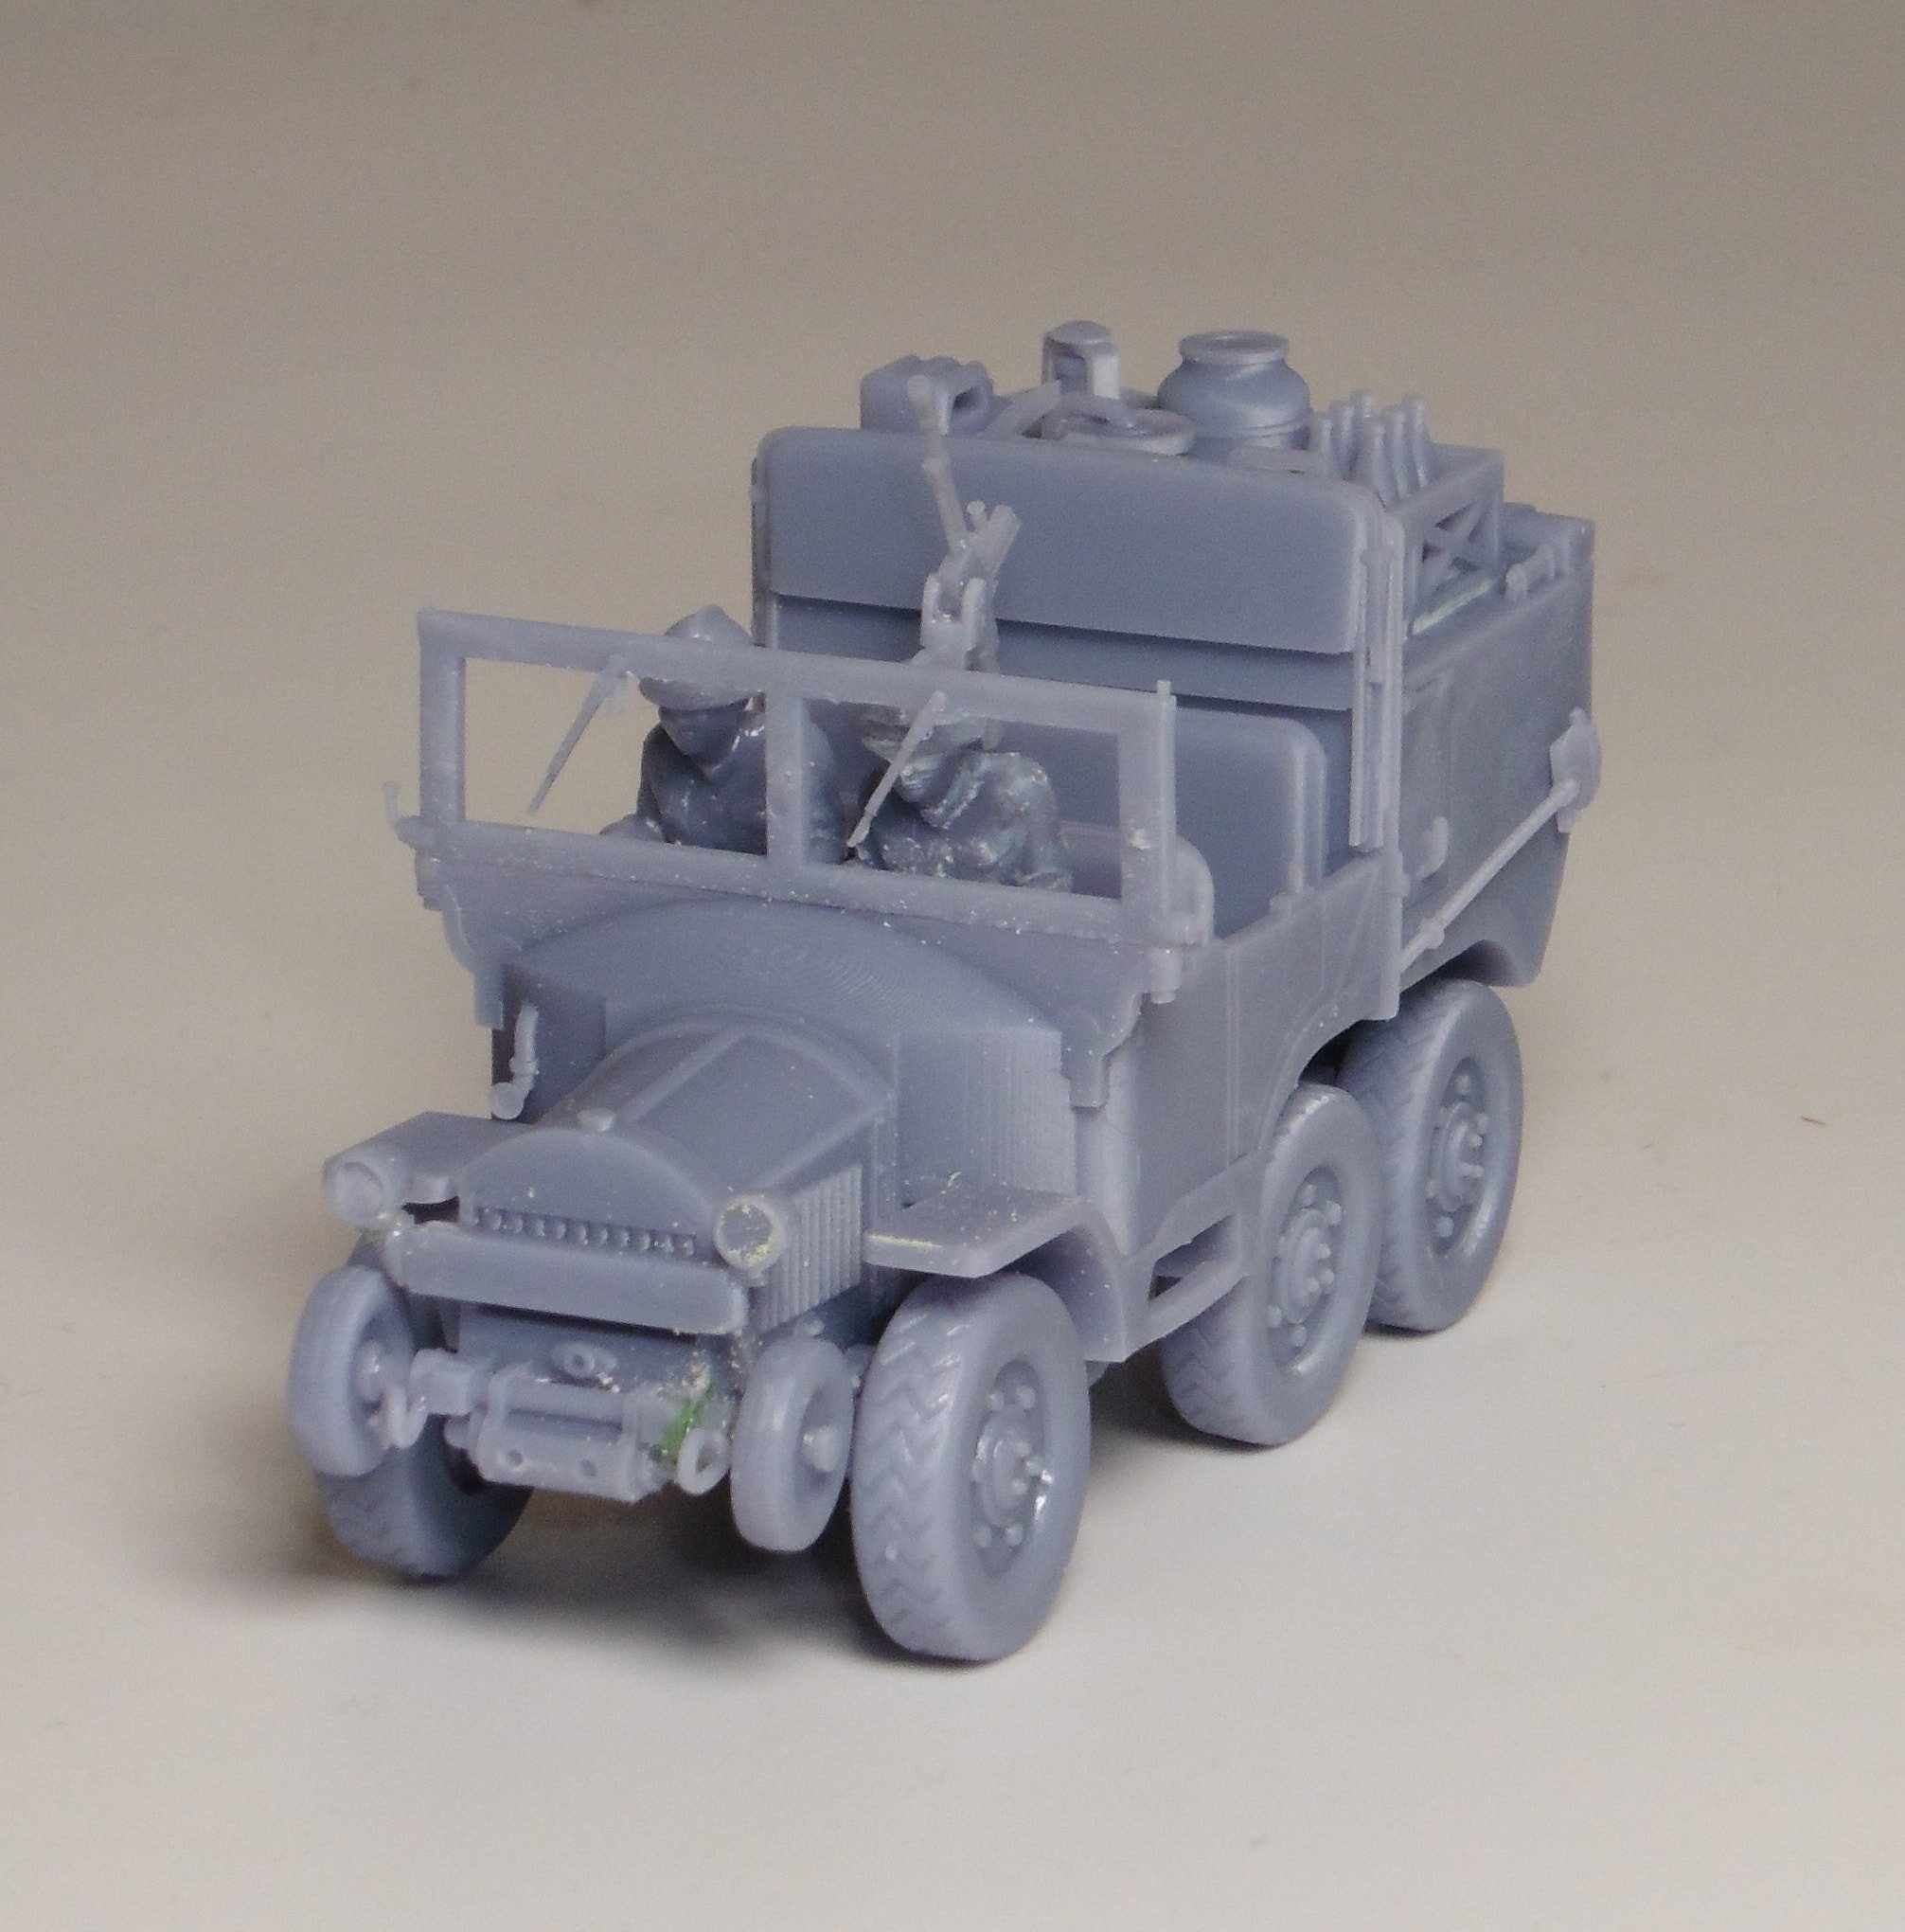
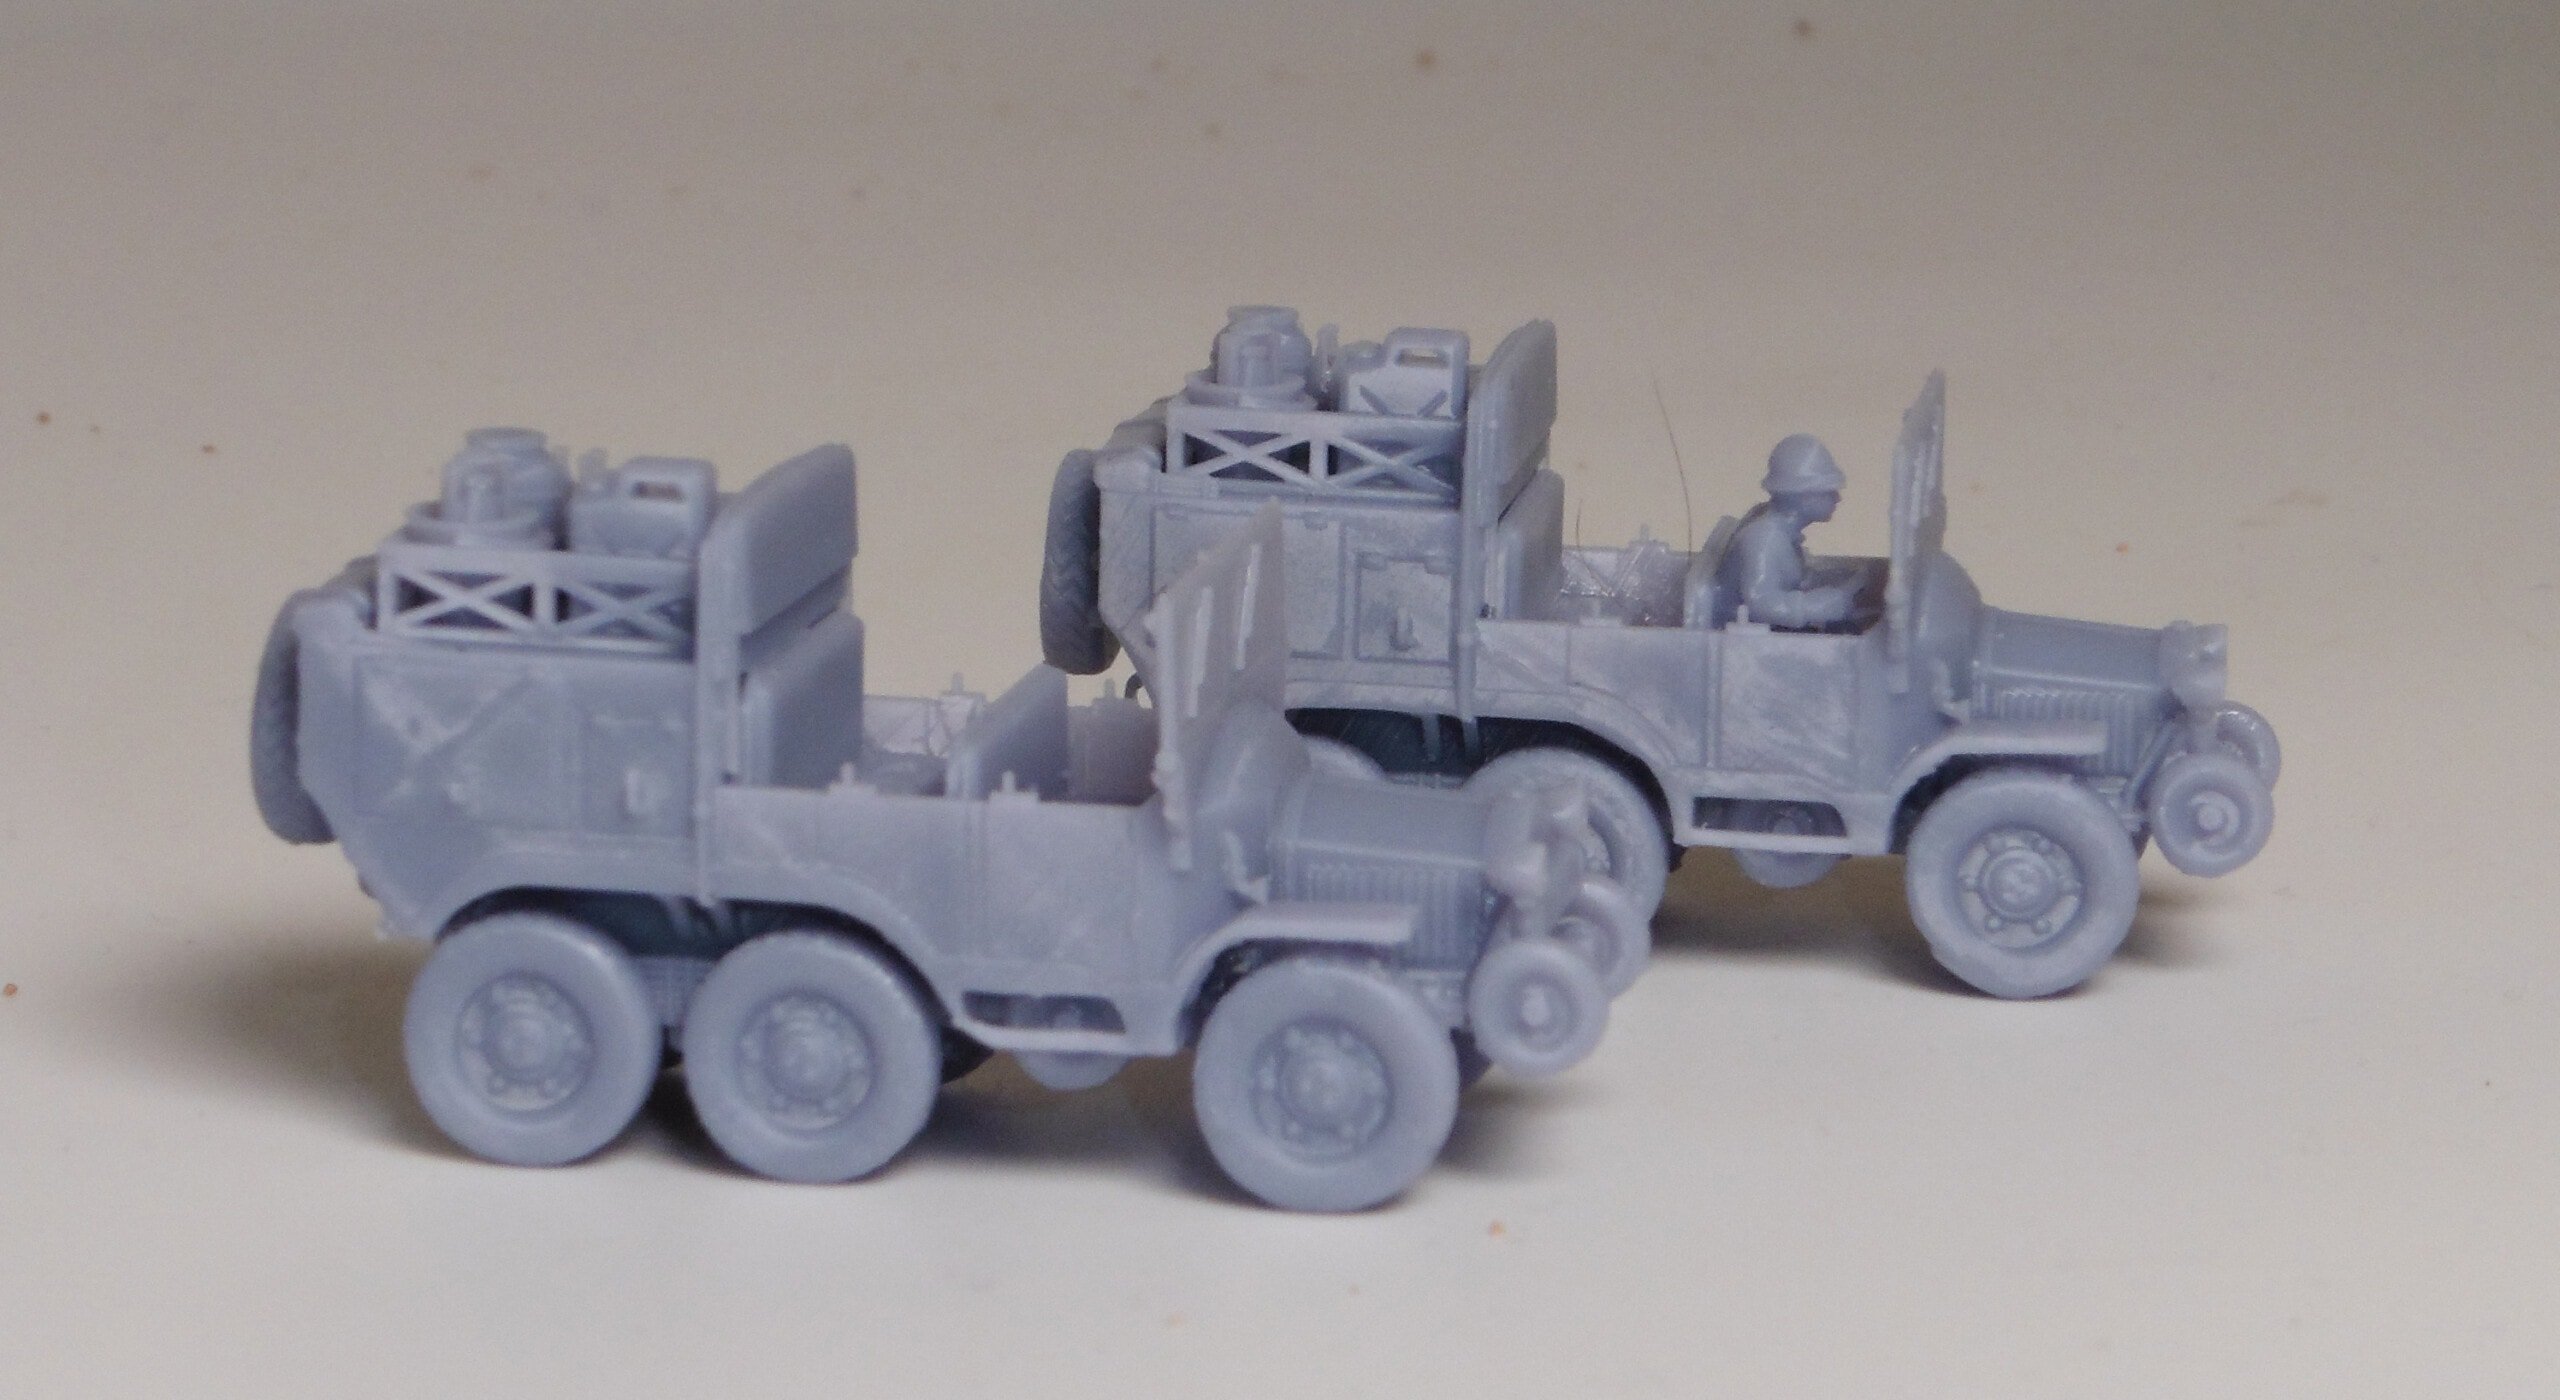
During the 1930's Laffly produced a range of all-wheel-drive cross-country trucks (and tractors) for military purposes. They were often designed by Laffly and produced in conjunction with other companies such as Hotchkiss who even provided the engines. All featured an additional set of small wheels in front and similar set suspended beneath the driver's cab to help the vehicle cross ditches and obstacles.
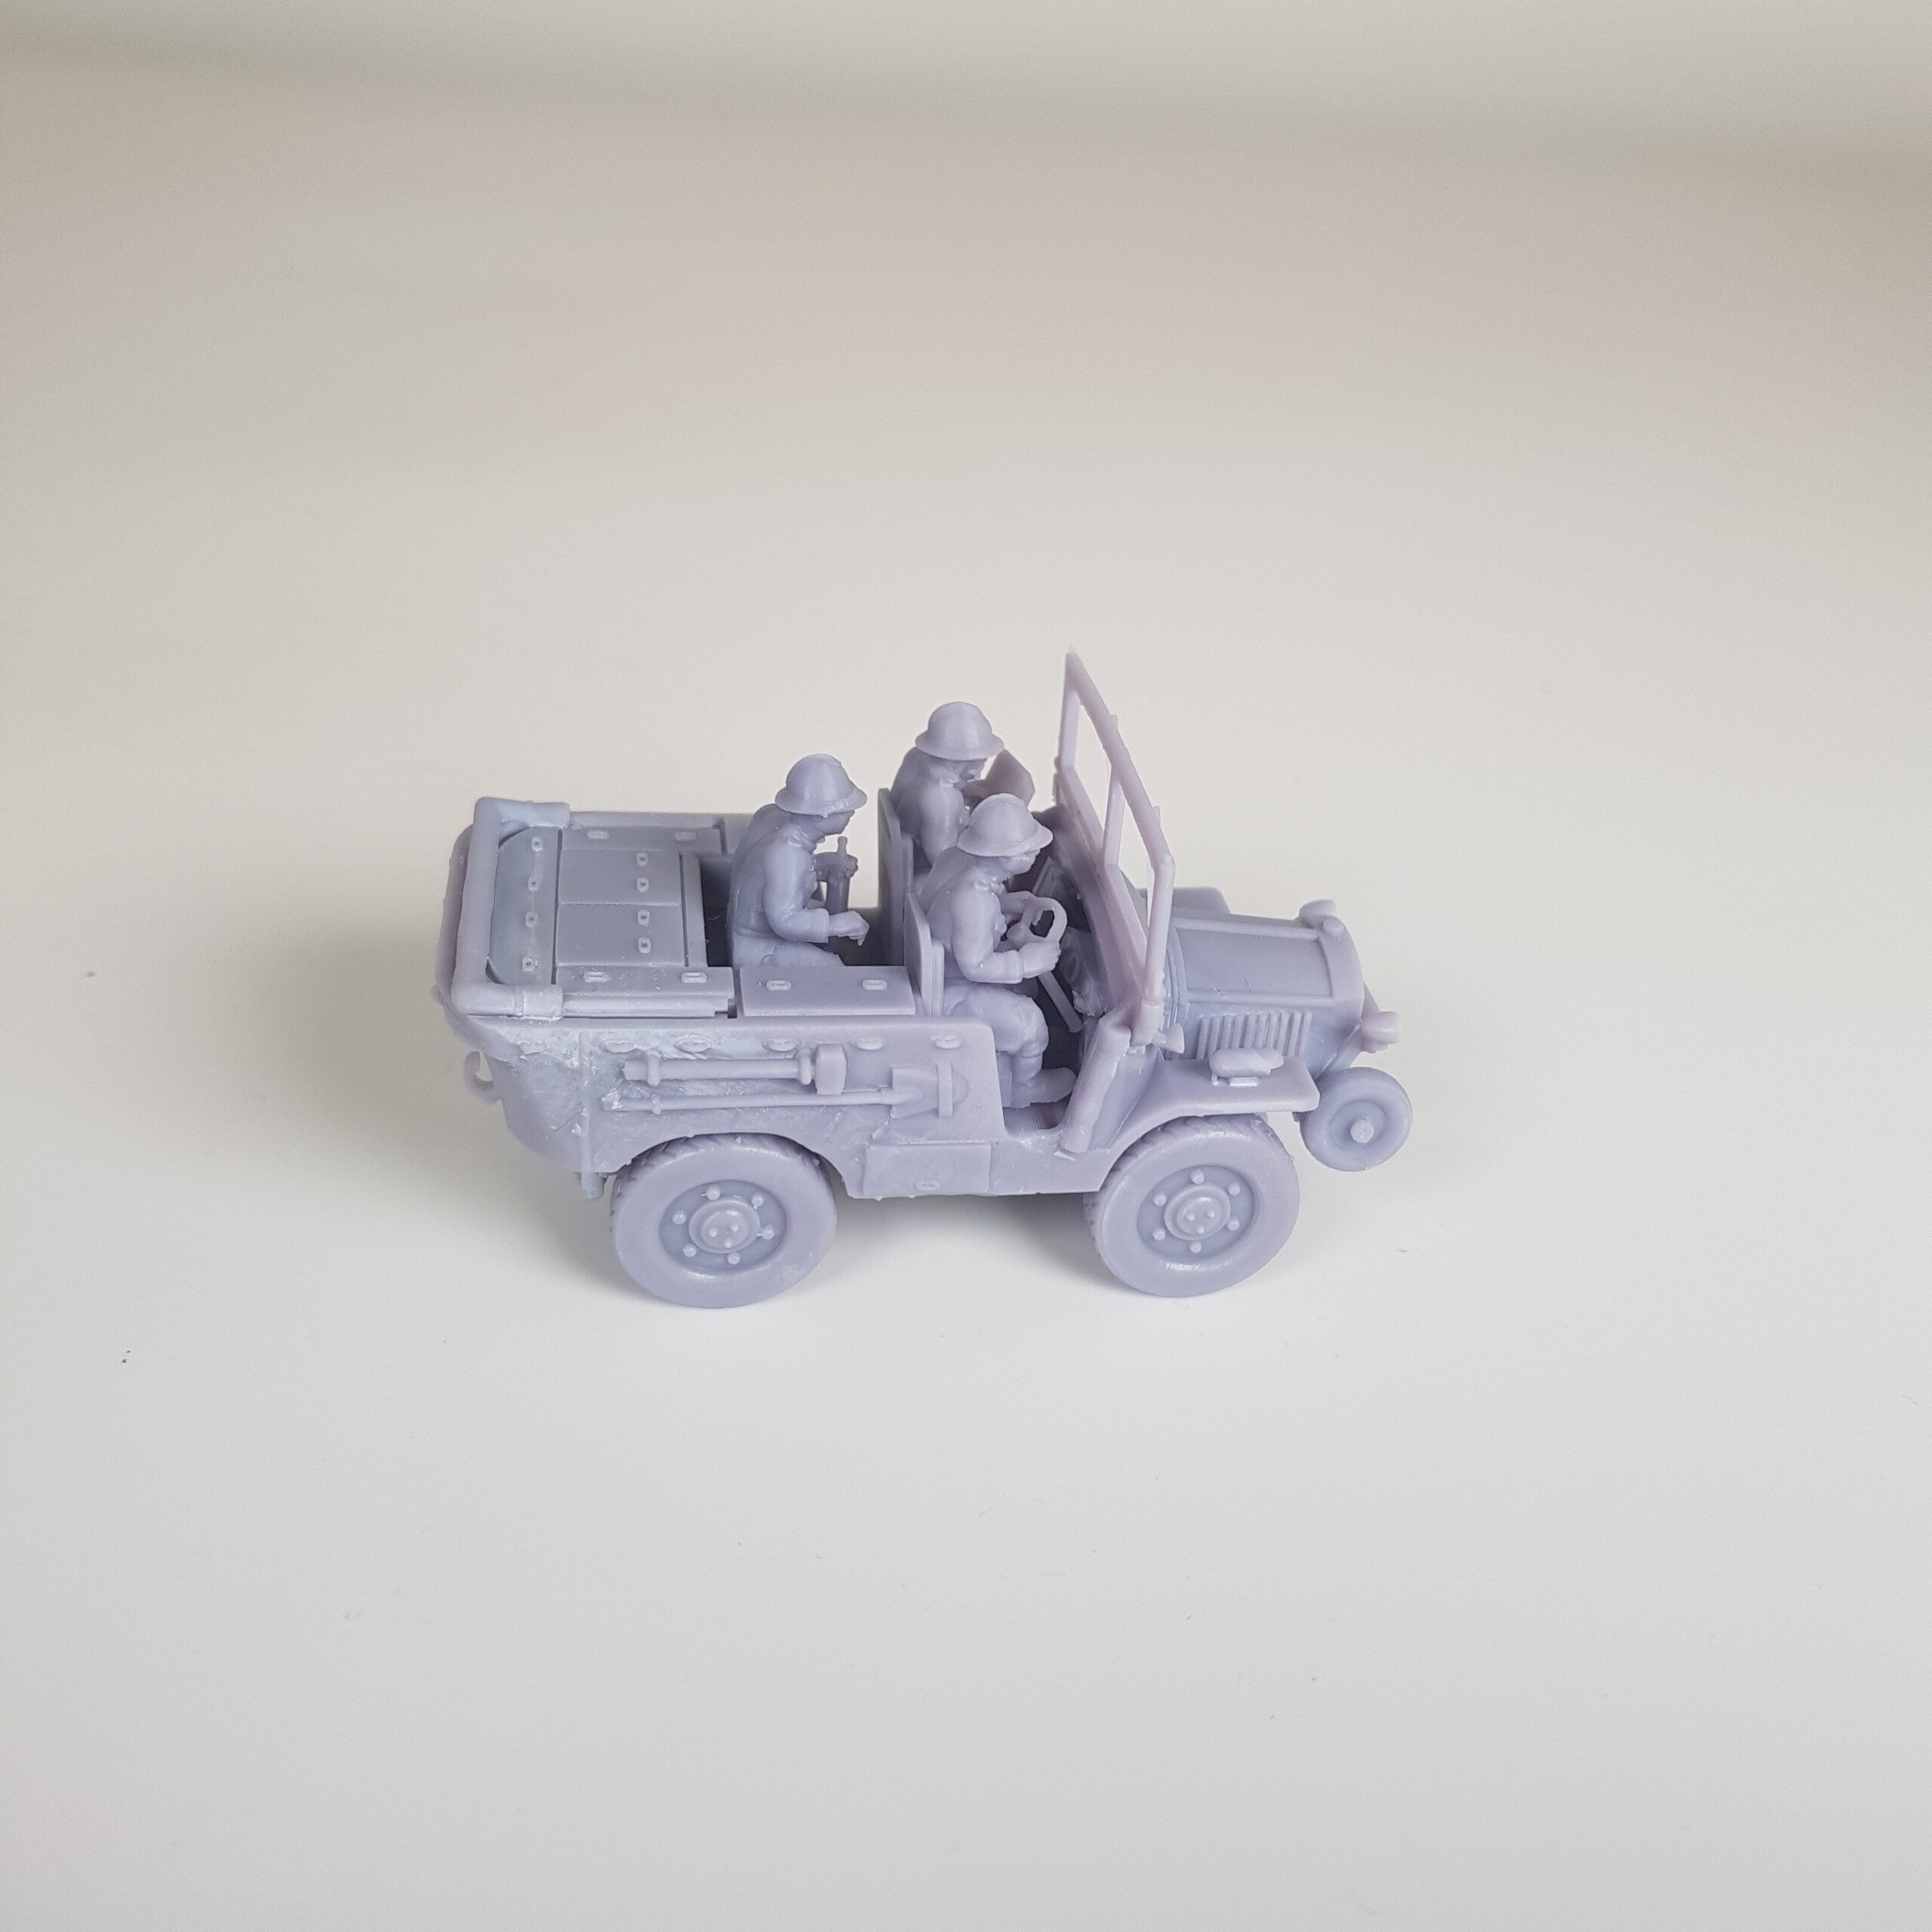
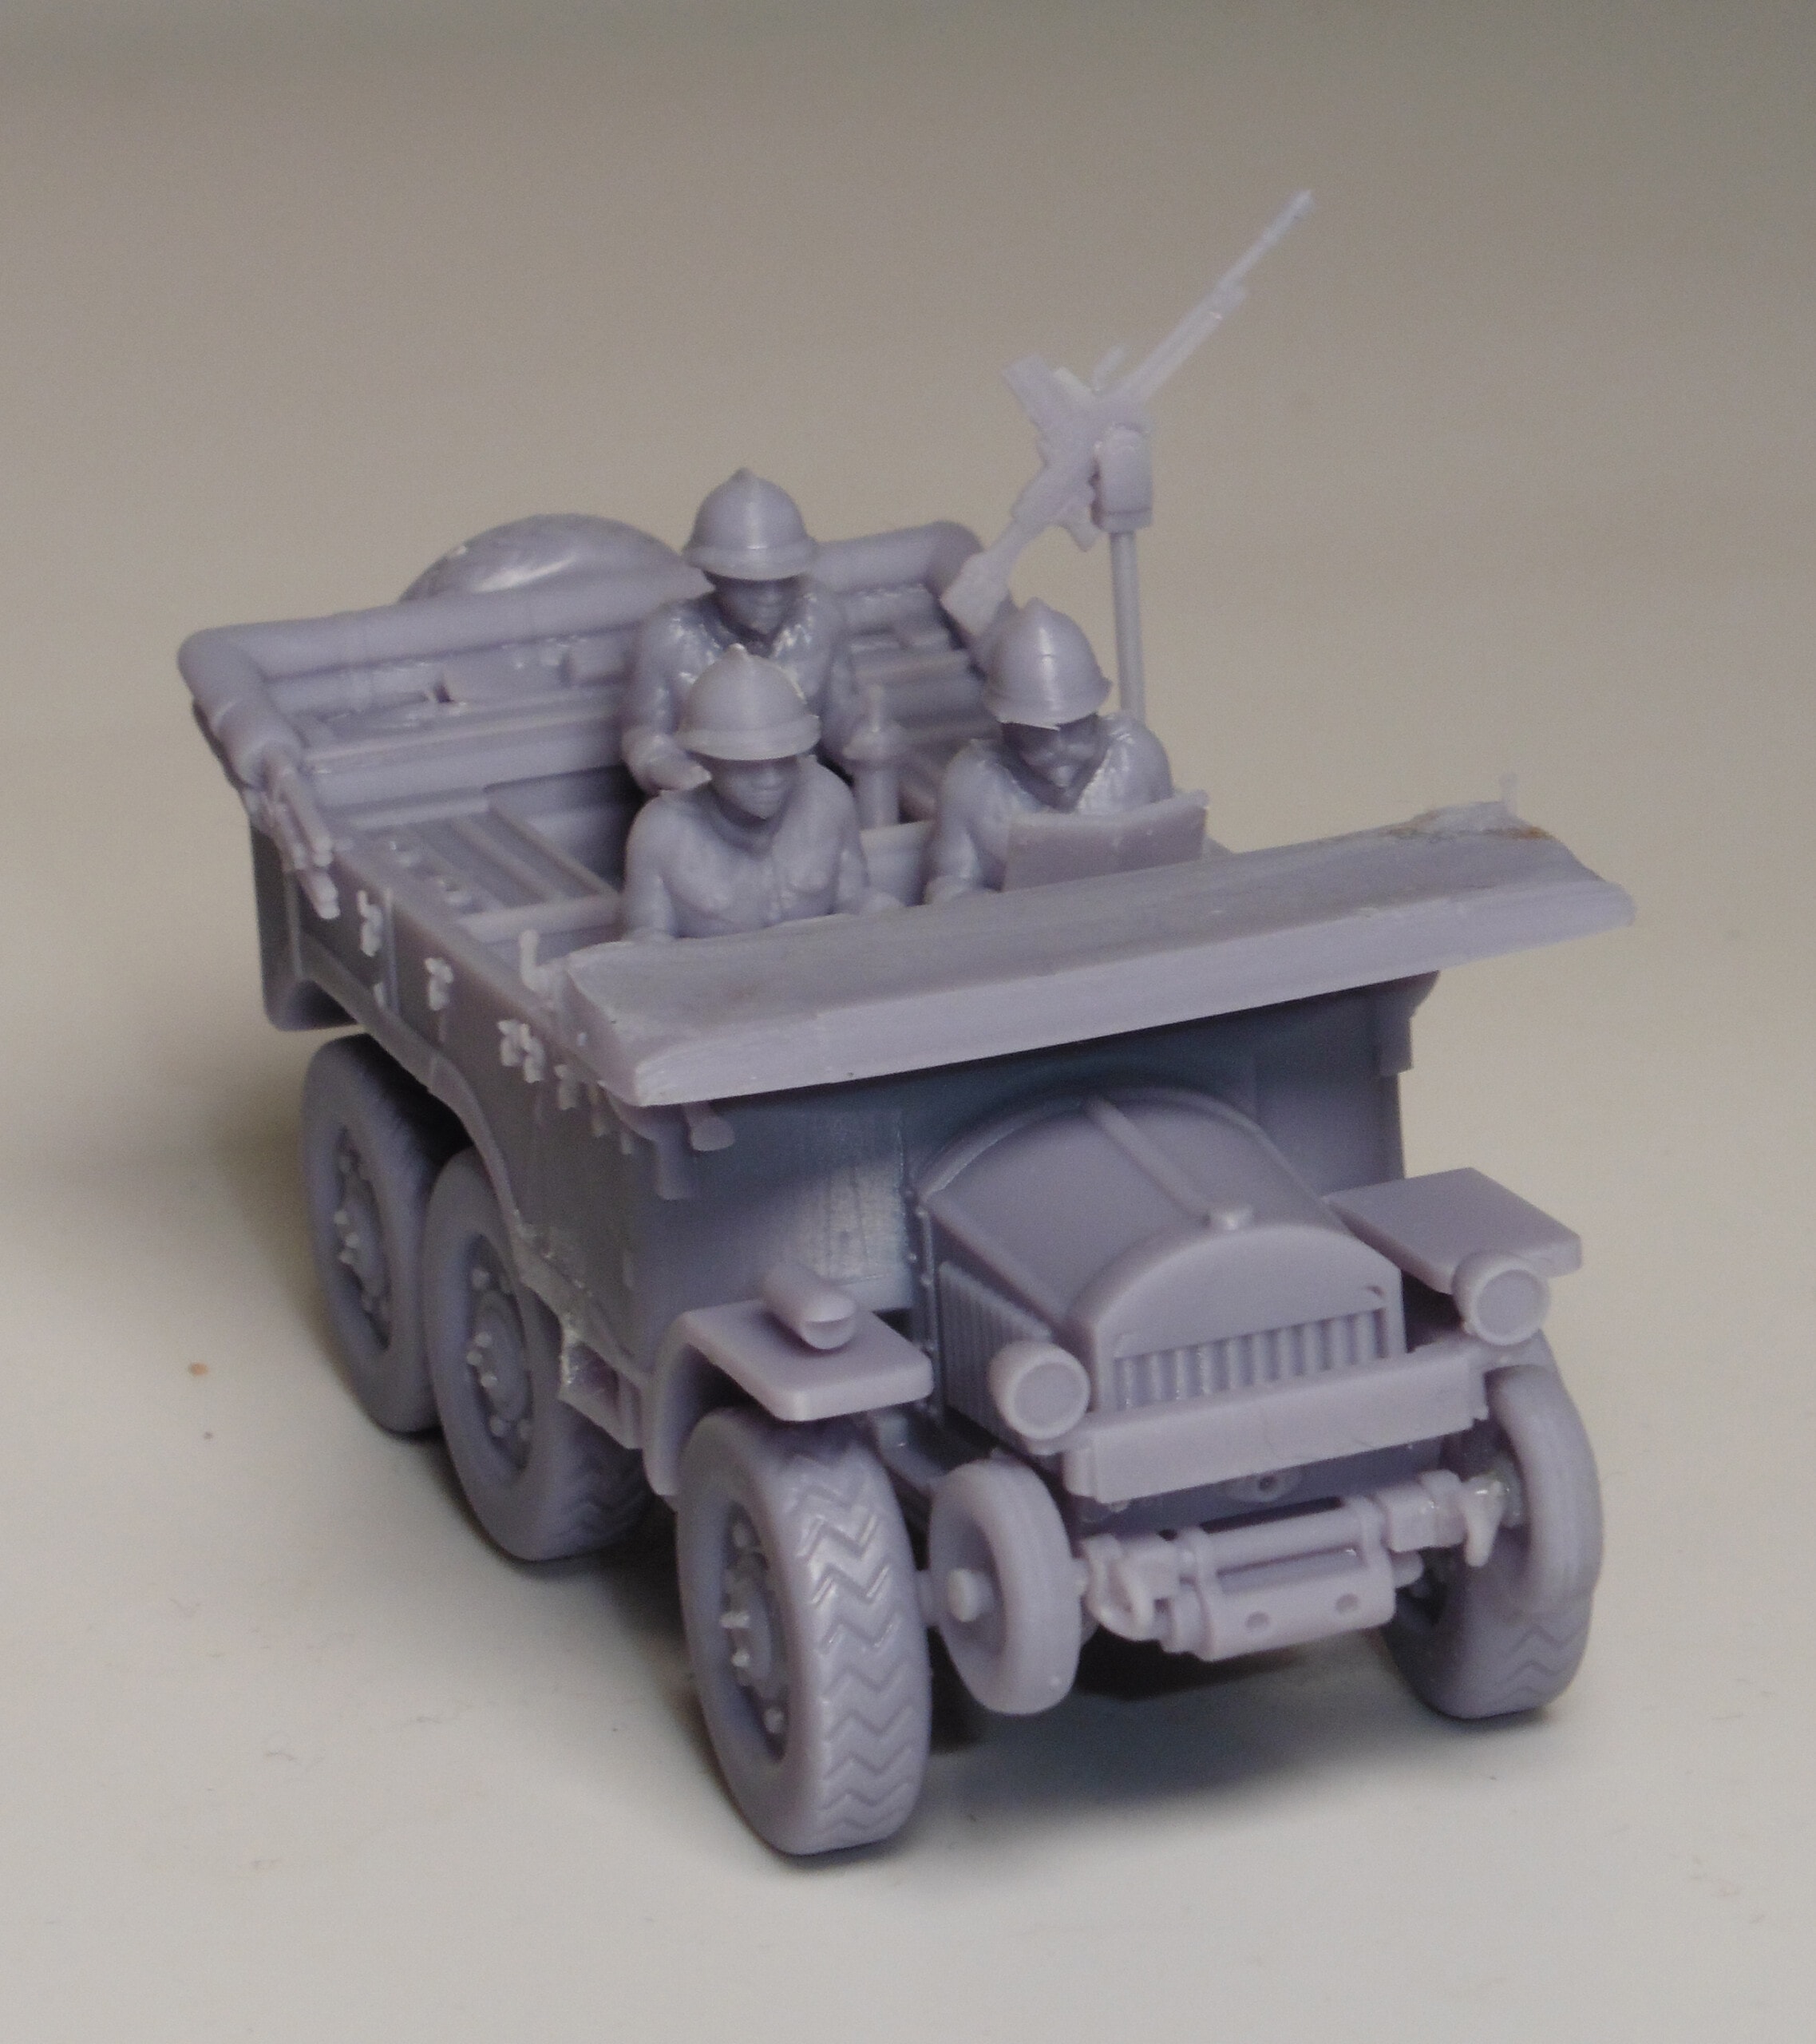
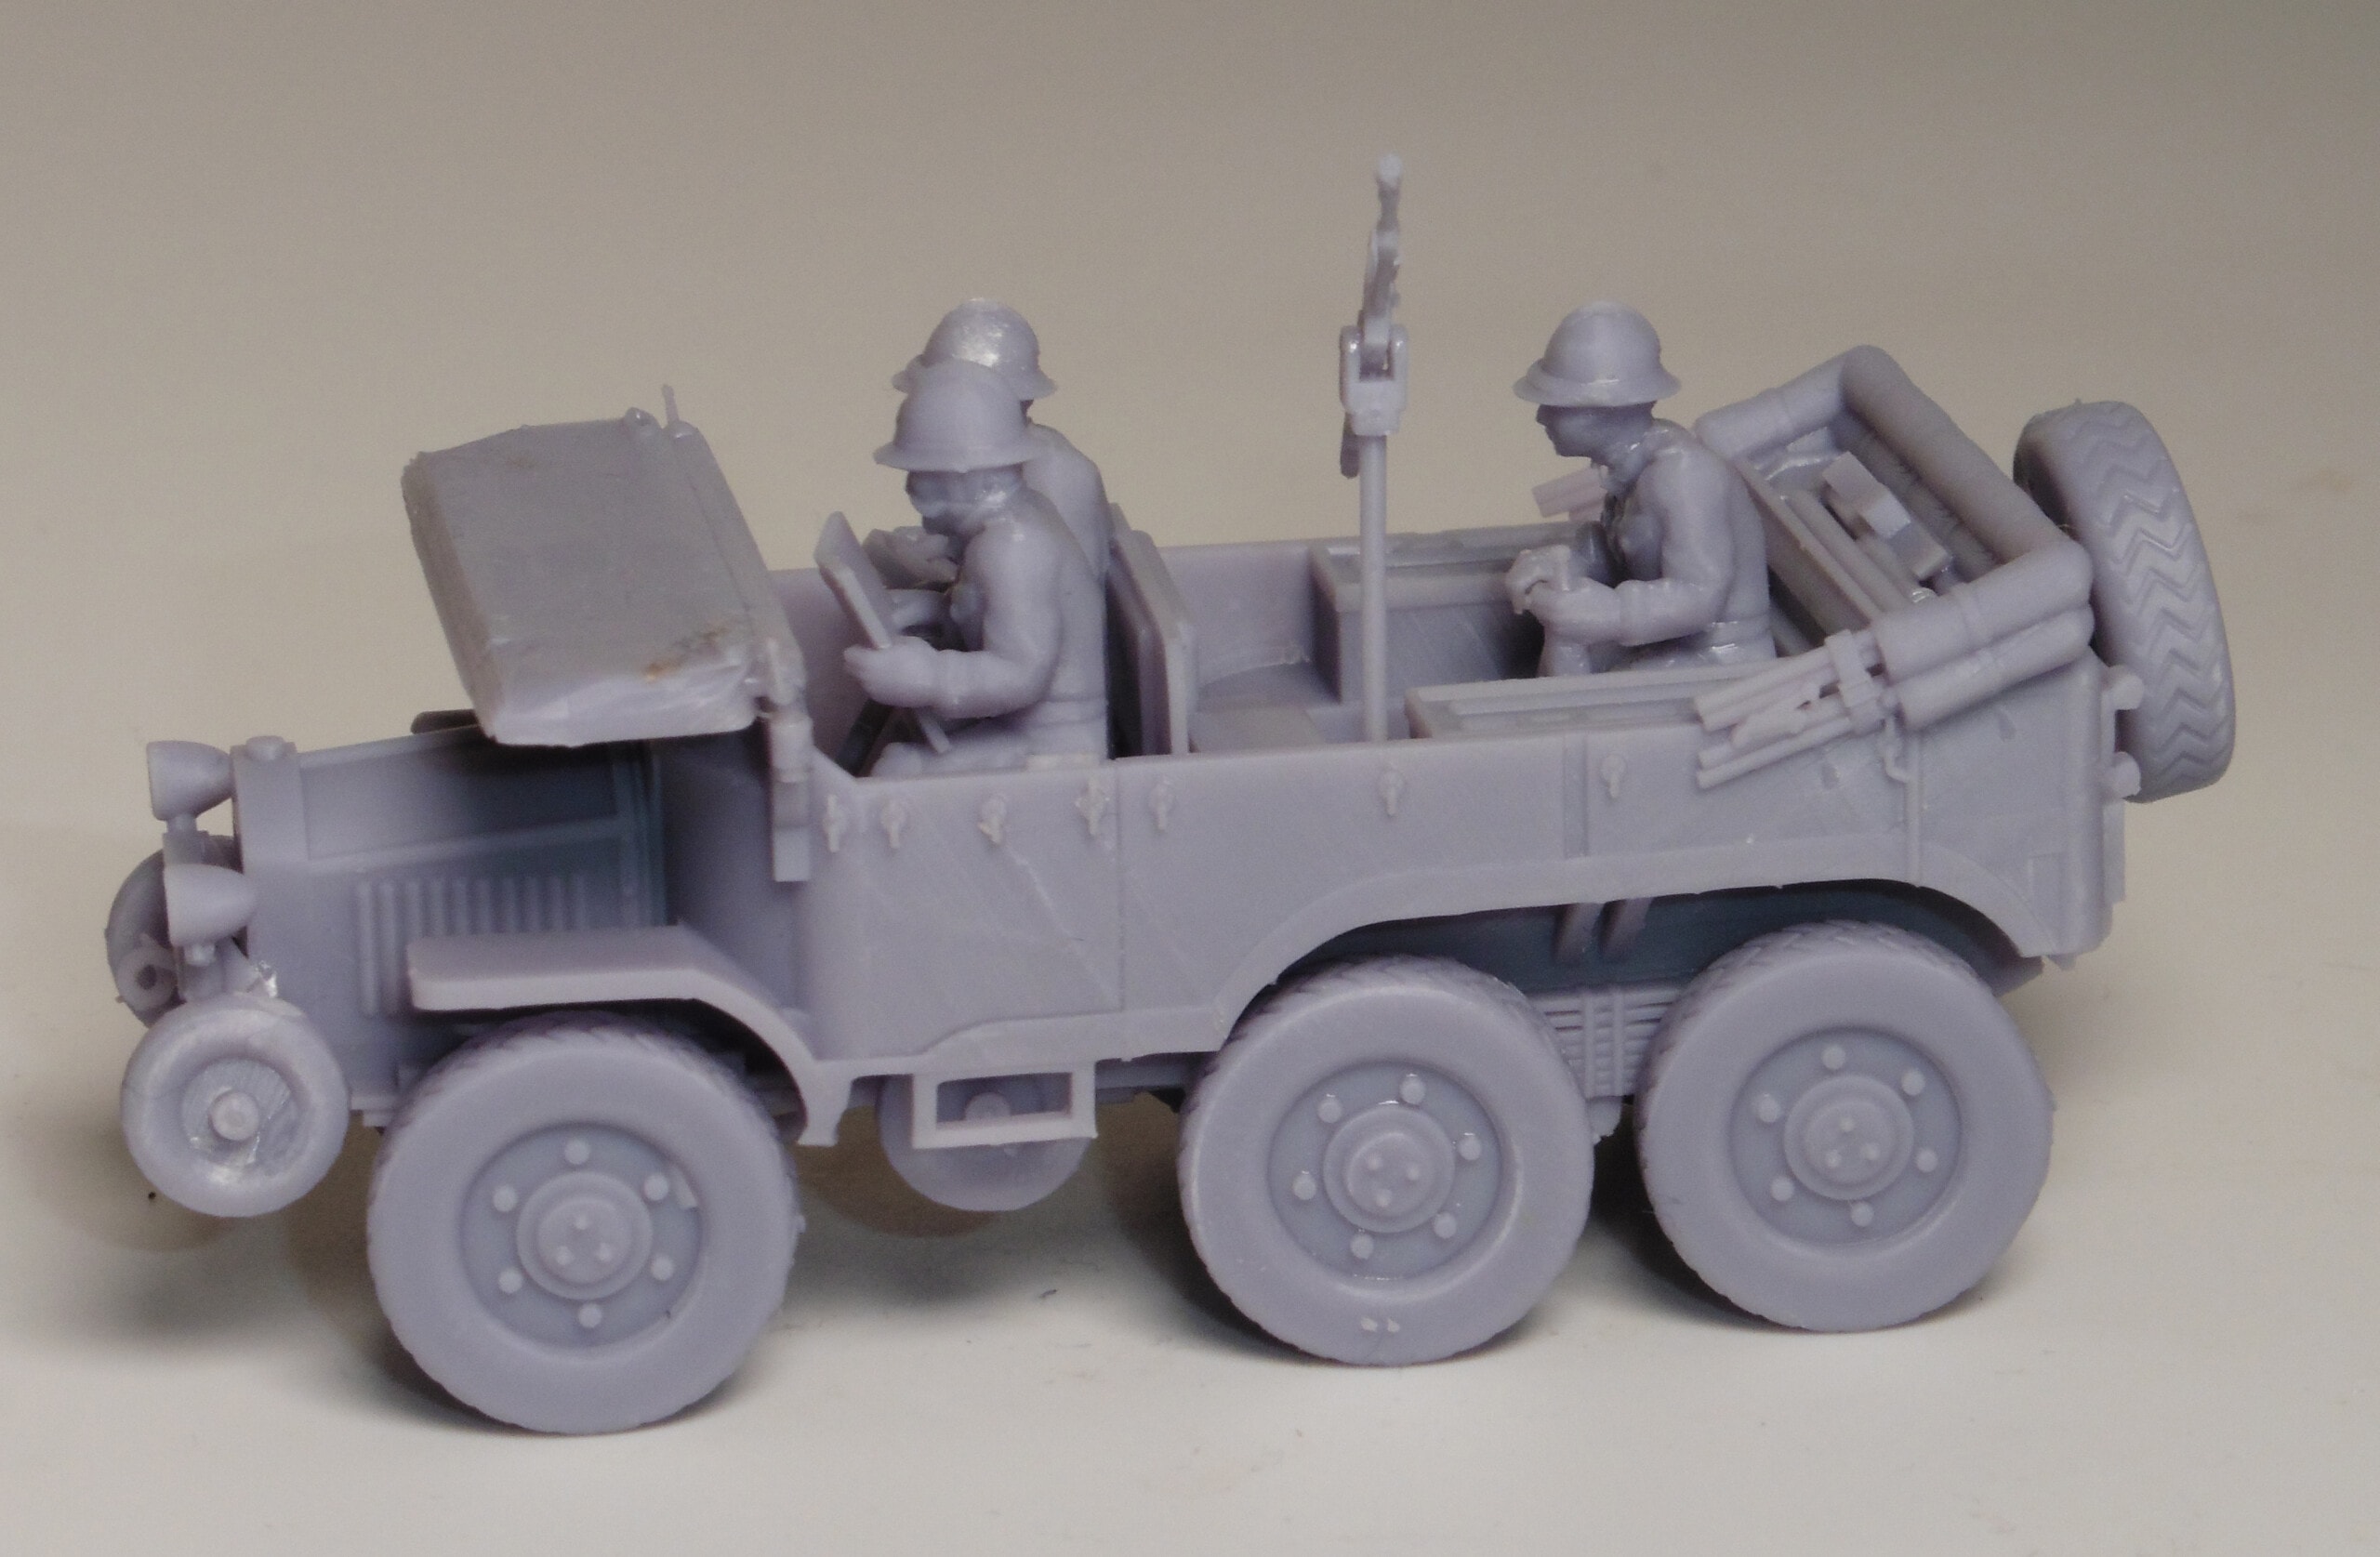
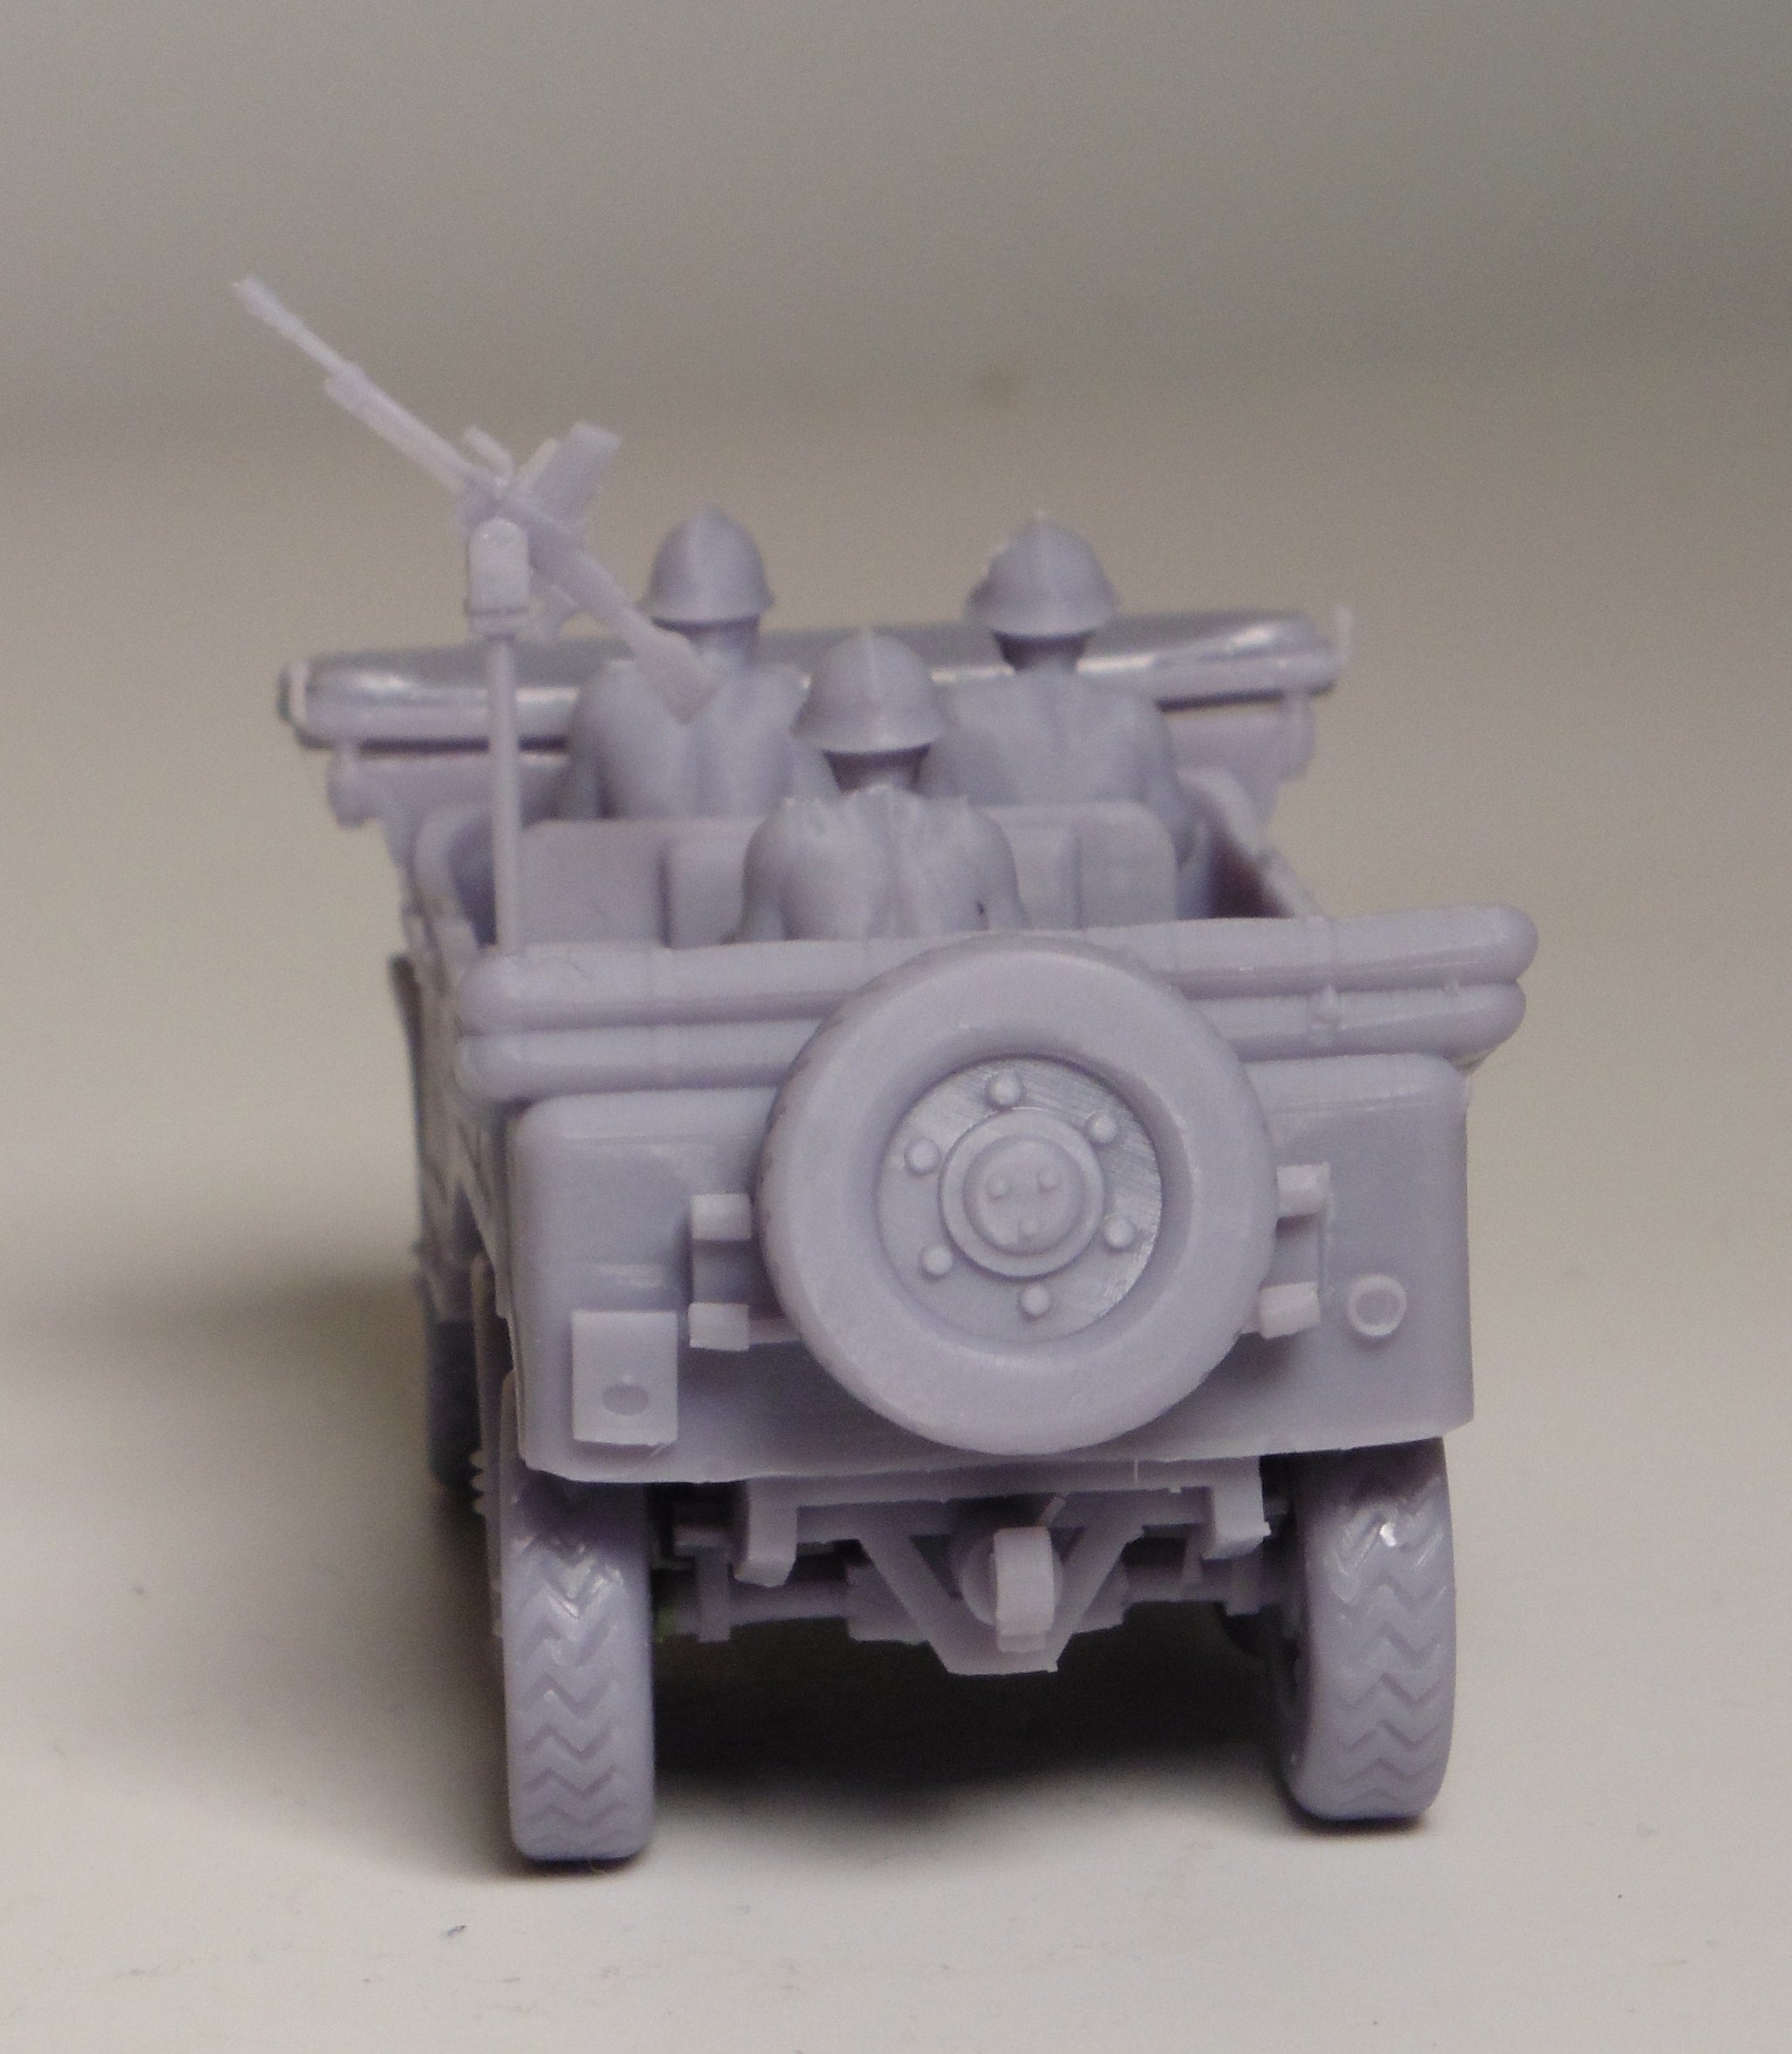
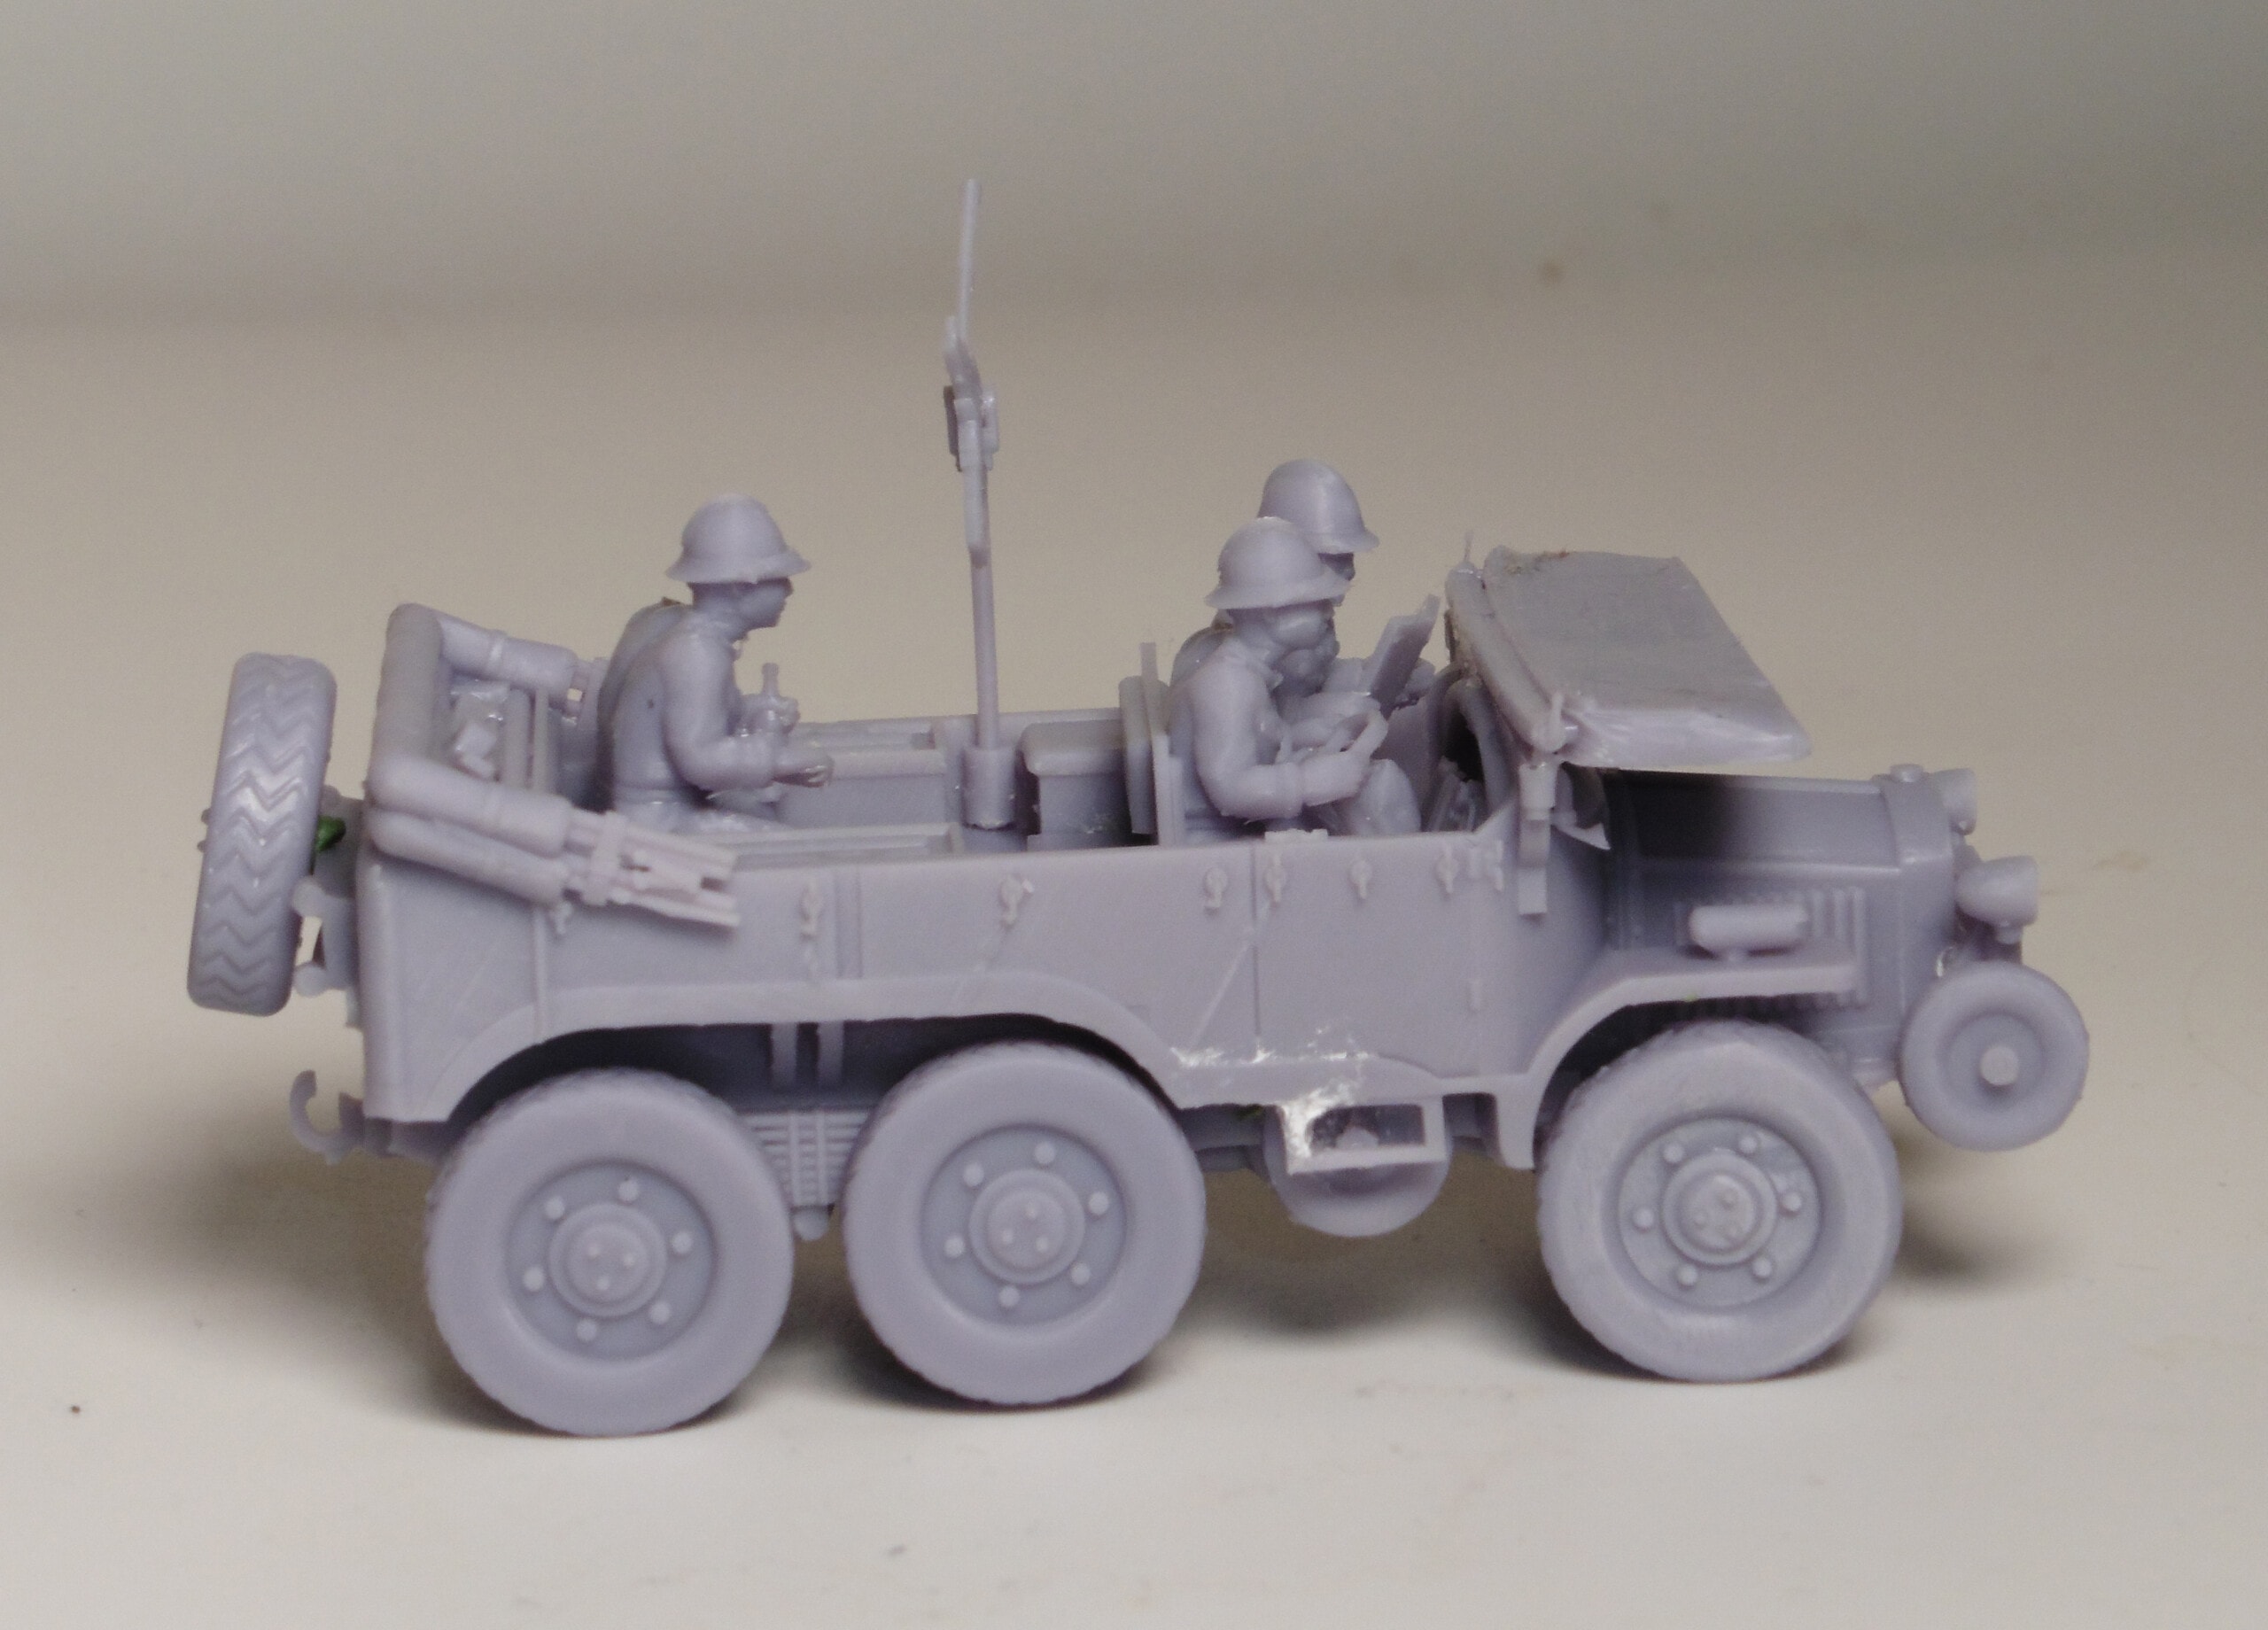
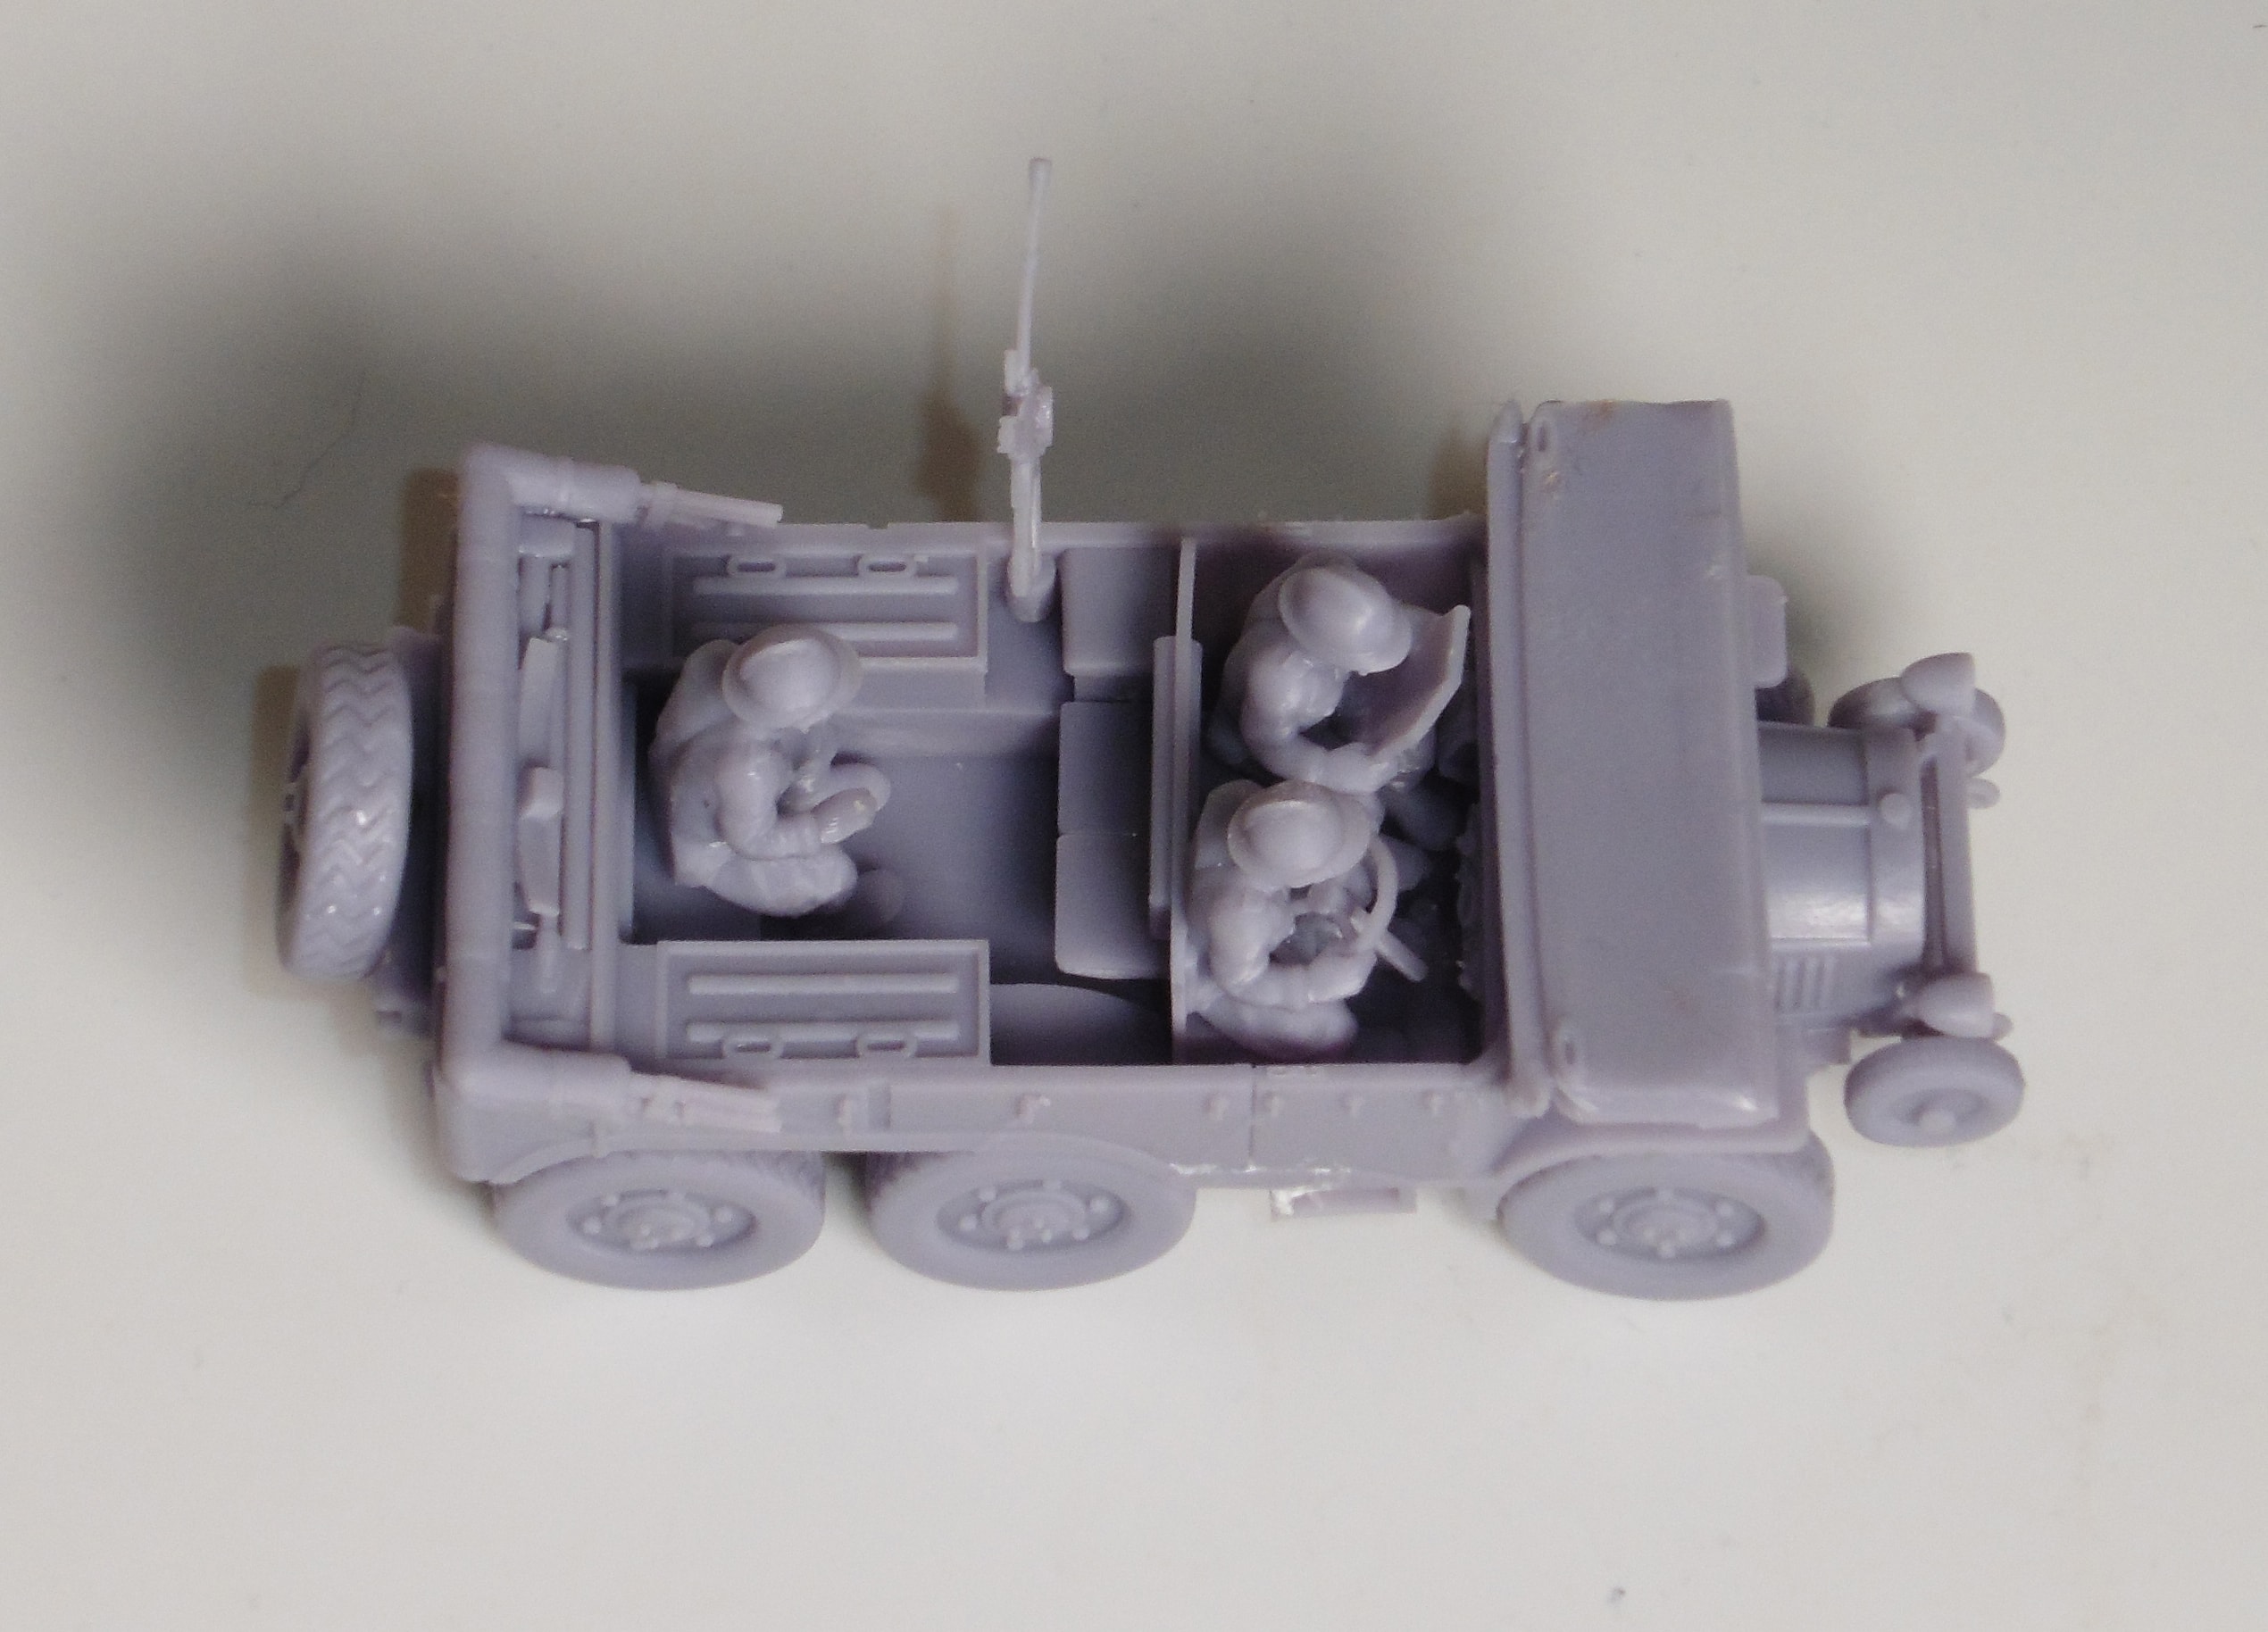
The Laffly S15R was a 6x6 all-terrain liaison vehicle (VLTT - voiture de liaison tout terrain) used as a personnel carrier and reconnaissance vehicle. It shared a common design and chassis with the S15T although the S15R had a lighter rear cab and a different transmission that allowed for higher road speed.
This model is intended to provide you with an option for providing a dedicated reconnaissance vehicle for your French forces. The model has lowered window screen options to reduce its overall height and so profile from enemy observation. Though best to dismount your half squad and move them even more quietly forward.
The Germans also made extensive use of the Laffly variants following the Fall of France June 1940.
French Laffly S15R Reconnaissance Vehicle 1/56 scale.
Though originally designed at 1/28 I have reworked those files for the 1/56 scale. This has meant "hardening" some parts to still be viable at this scale and merging some parts into a more consolidated form so that delicate parts become supported by the larger. Some parts are still very delicate so print spares.
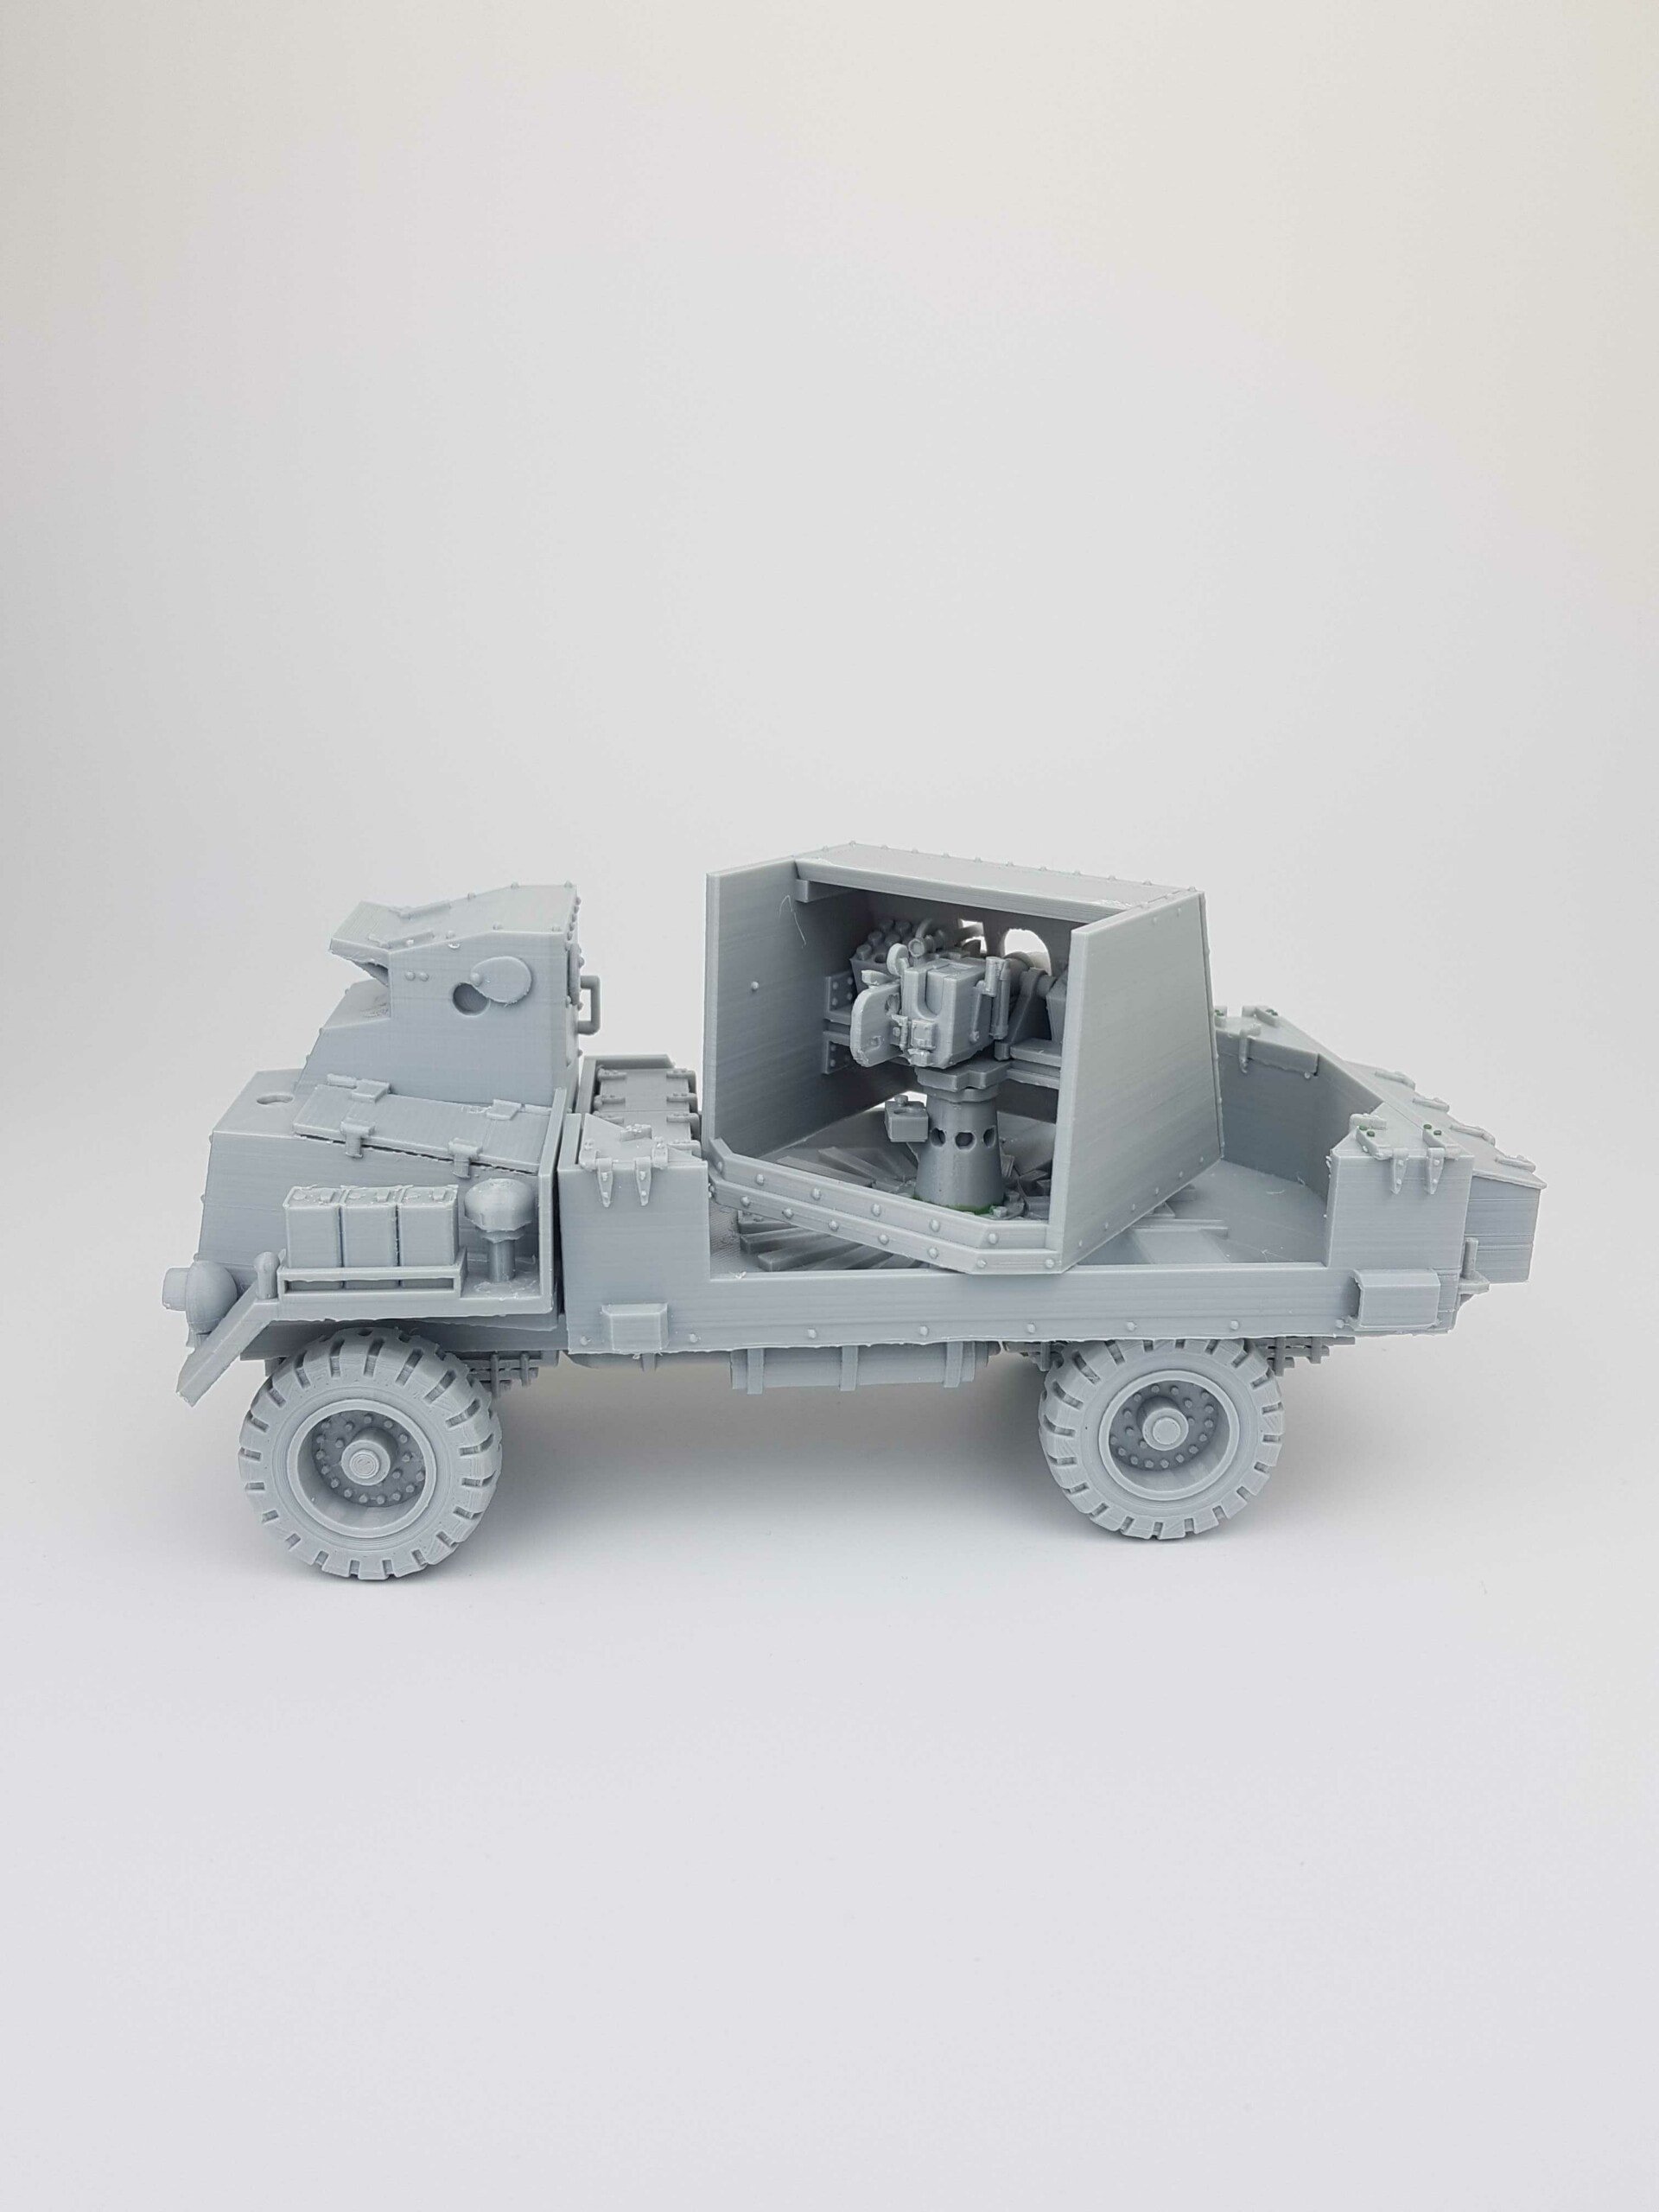
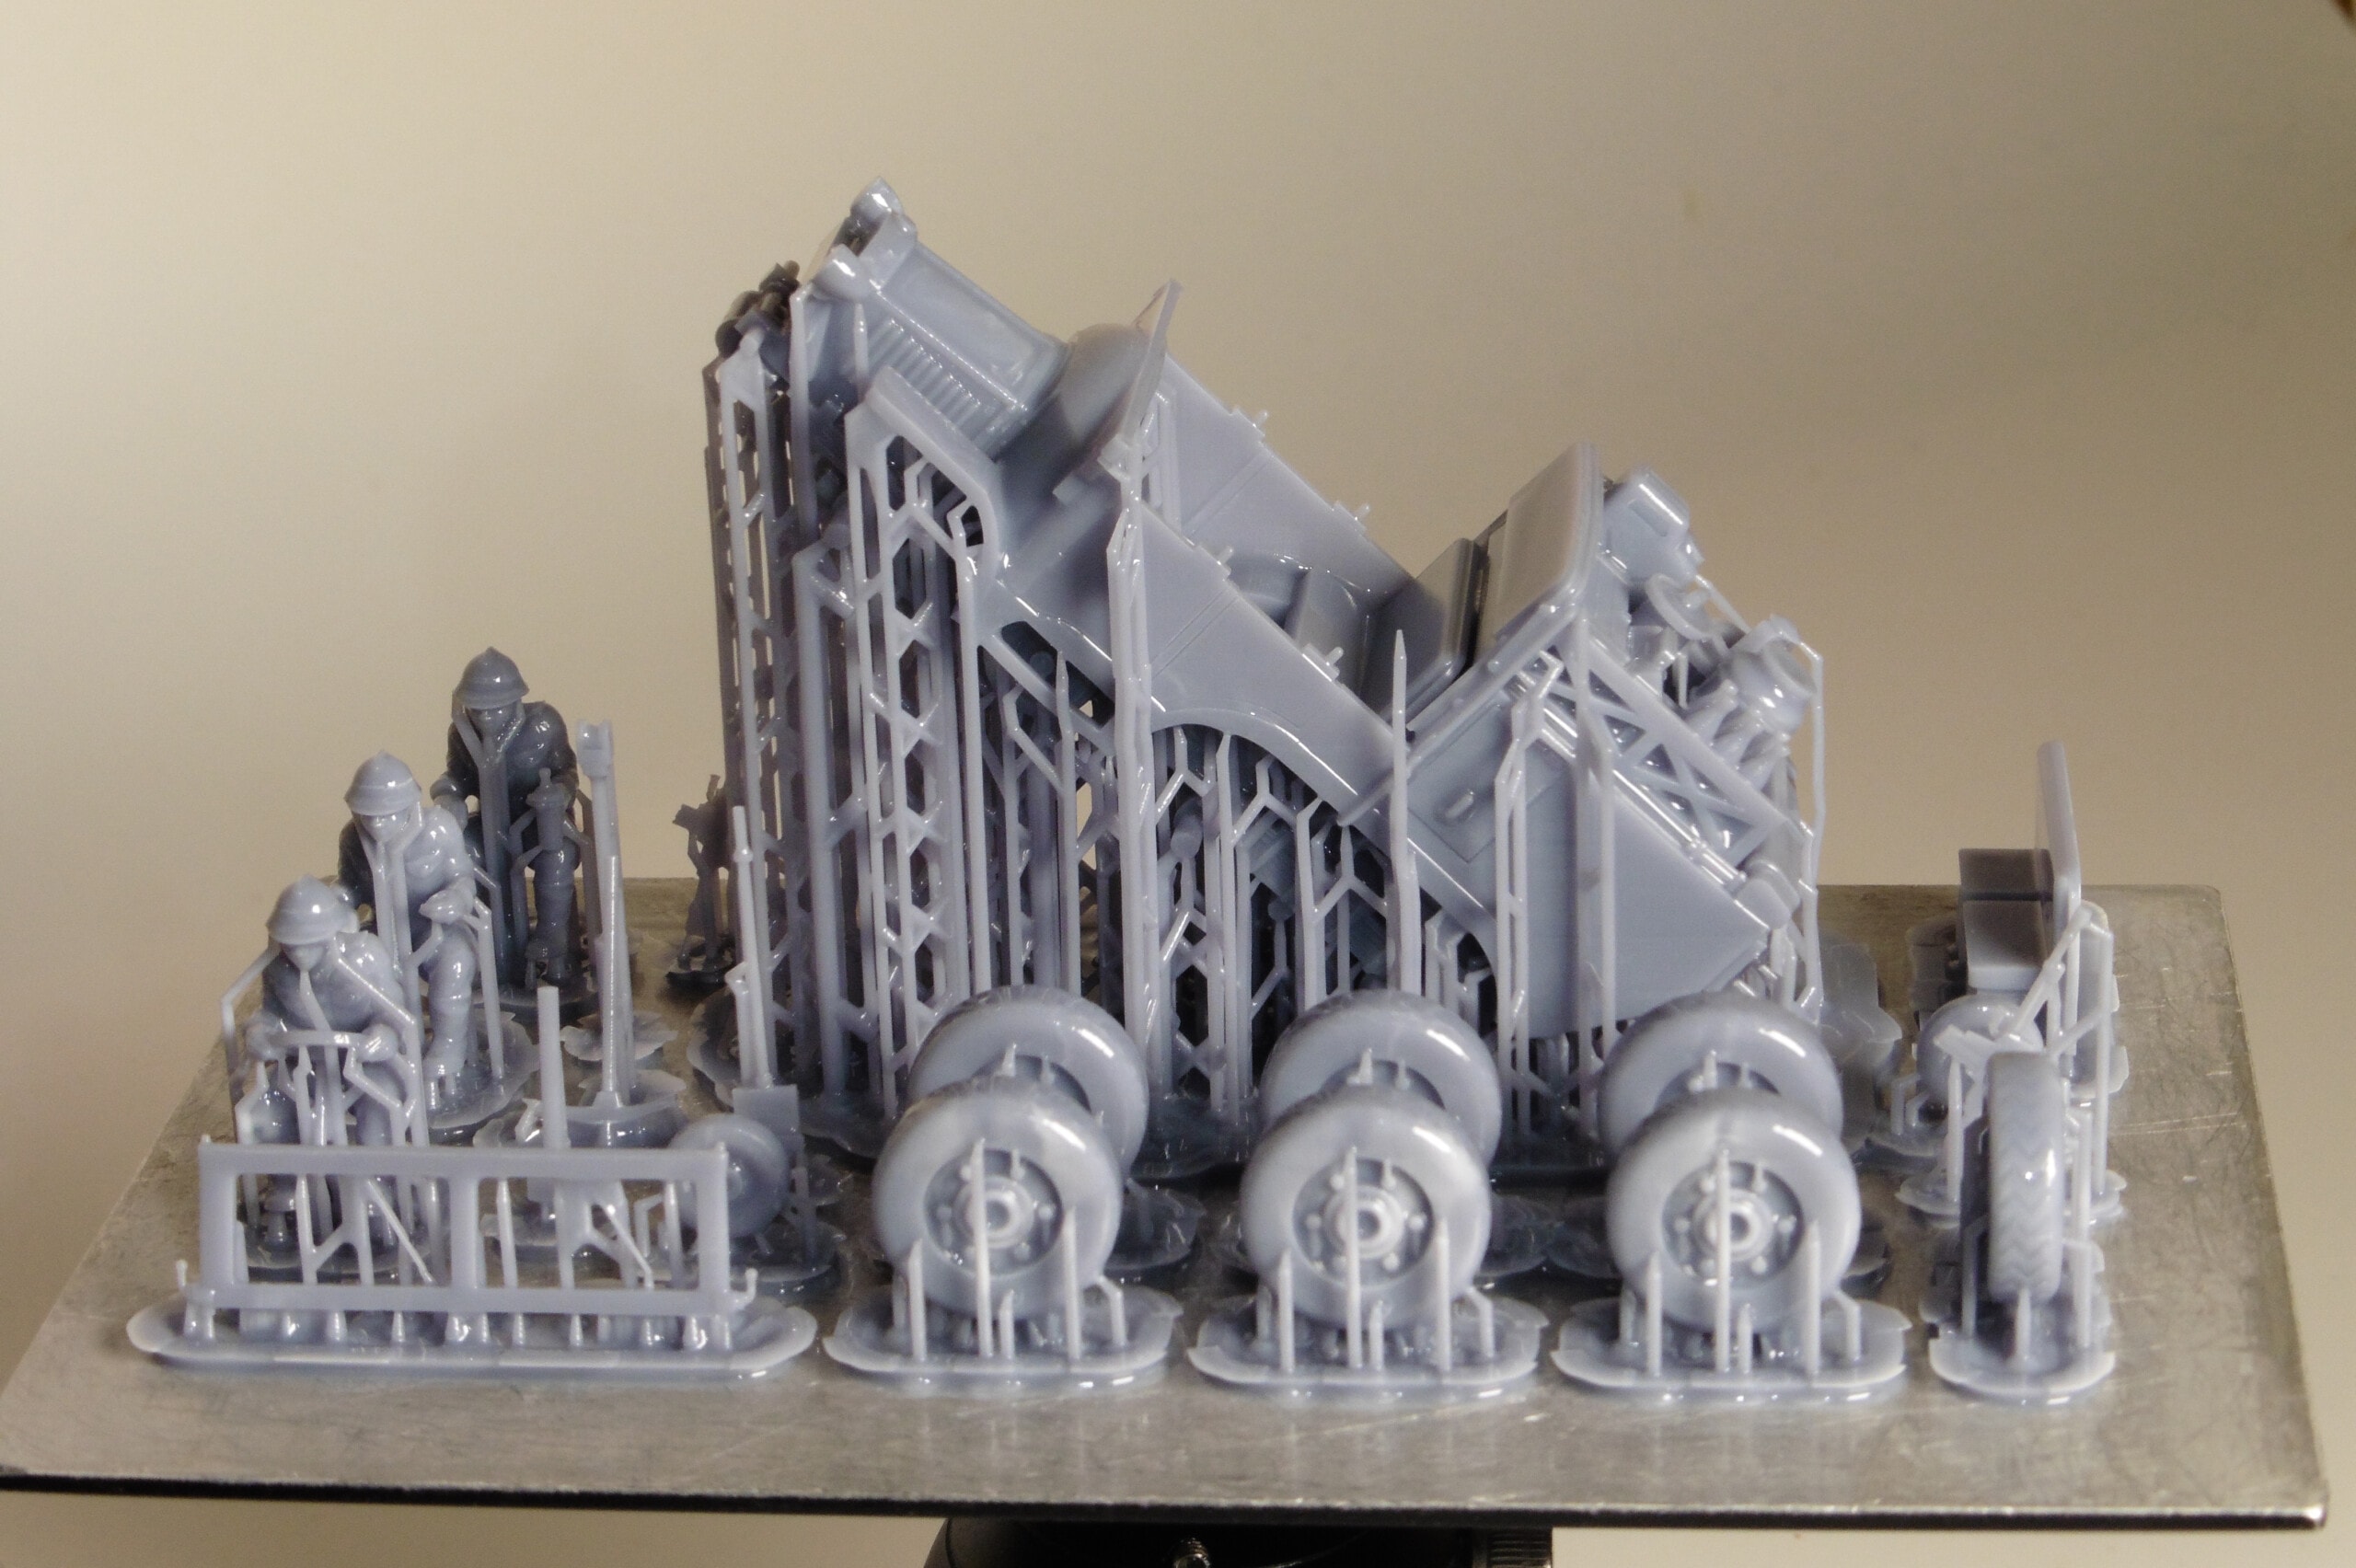
The model has been test printed by me on an Elegoo Saturn 8K printer. Using the basic settings and a layer height of 0.05mm. I include the pre-supported files that I used in the test print so you should get a reliable print. The clean up was reasonably straight forward. I use water soluble resin and clean it in very hot tap water. I did need to use a sharp knife to remove some supports that were running close to the model. So pay attention in cleaning before you cure the model. I was able to remove supports reasonably easily from the detailed subframe with out damaging any of the hydraulic parts. Just take a little care in this part of the process to enjoy the best results.
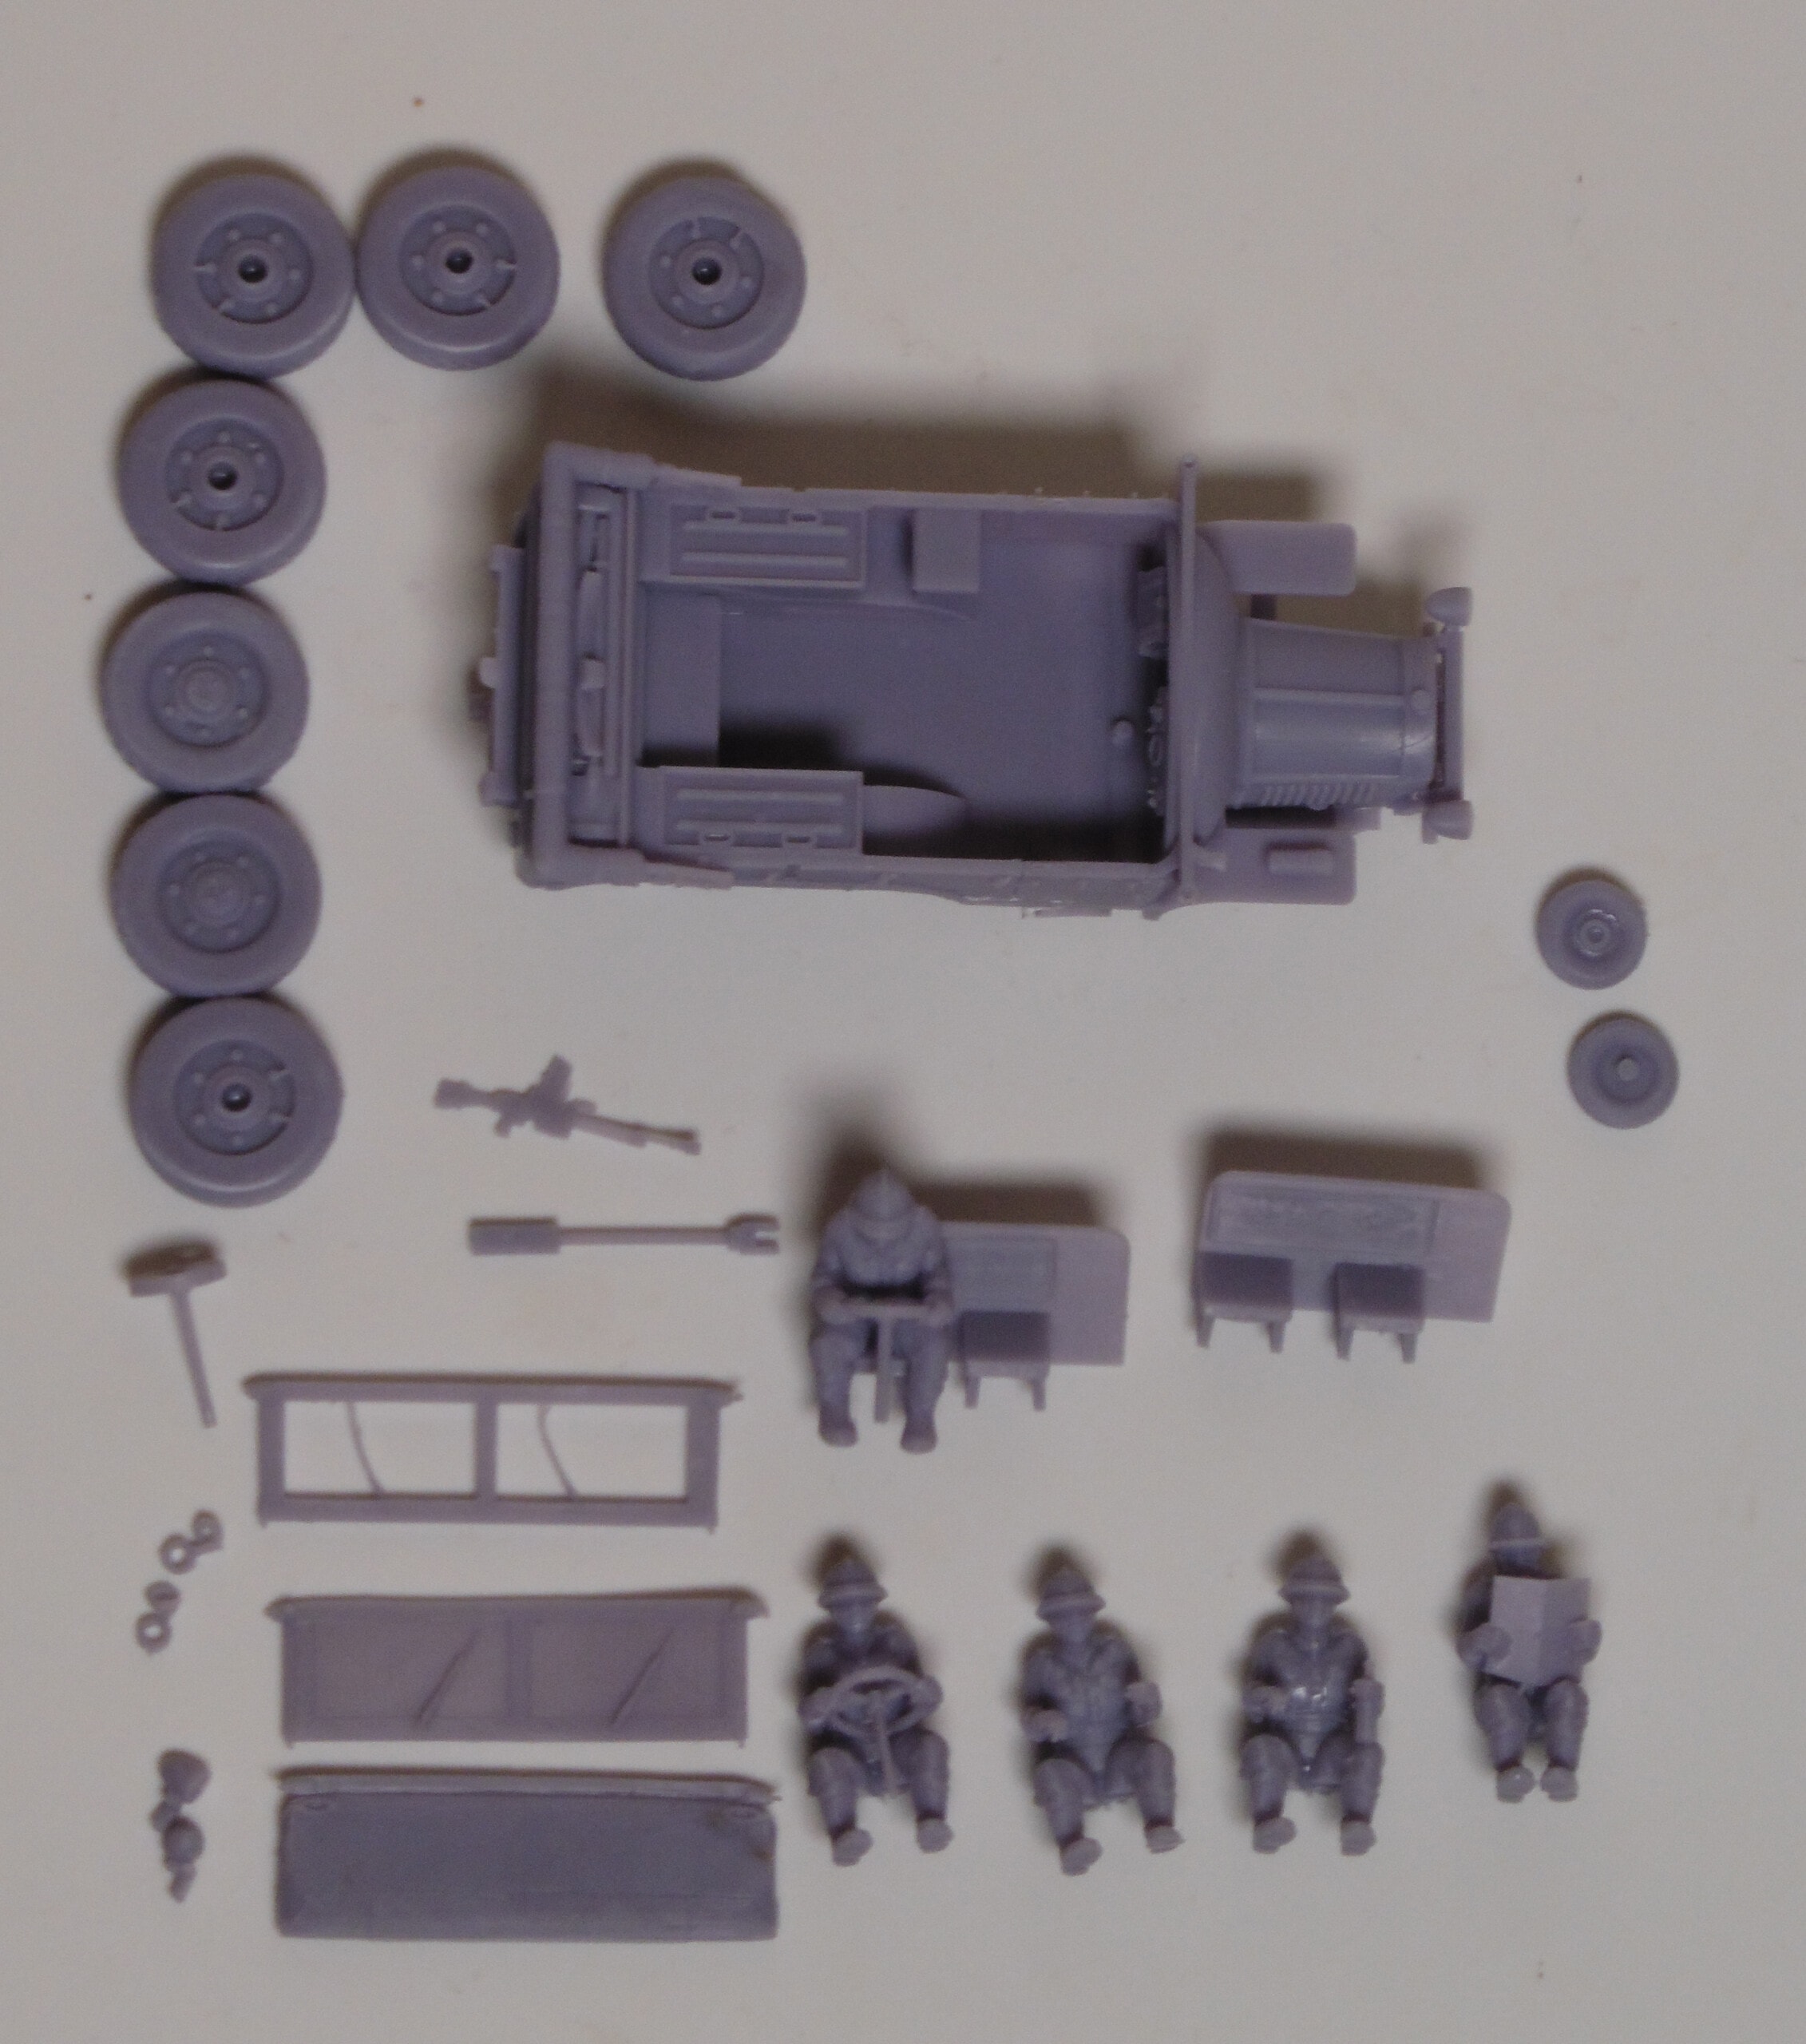
The models consists of the following files:
Main chassis of the vehicle which includes all the sub frame detail. The small obstacle wheels underneath do sometimes partially fail so print spares and cut out failed area and trim a new wheel to insert. I have also added more supports for the stub bracket of the spare wheel as it failed partly.
Road Wheels. Print 7 of these as one is a spare on the rear of the hull.
Curled Stowage Securing Horns mirrored left & right. Fragile so print spares. Mounts on the small front axle before the Obstacle Wheels.
Head light Repairs. I strongly recommend snipping supports off the headlights and small front axle before "pulling" the bulk of the supports off.
Obstacle Wheels. You need 2 and these glue just below the front number plate. Use a tiny amount of greenstuff to assist in their gluing on. Sometimes those under the hull fail to print correctly so print some spares and clip out the ruined part before curing.
Lowered Window Screen. This is delicate. Print twice just so you have a spare. Remove the ulta-tiny support off the Wipers first at the bottom where it comes up from the window frame. Watch the window tilt lock lever on the sides extremely thin.
Lowered Solid Window Screen. Though still very thin this does avoid the wipers snapping off.
Lowered Window screen covered in a heavy tarp to protect it from damage... though it fails to protect the tilt locking lever.
Front Driver sitting on Front & Middle Bench.
Front Bench & Middle Bench as a single piece.
Steering wheel if you do not want to use a driver in the vehicle.
LMG & Pedestal Mount intended to be glued on to a flat surface. The bottom of the mount might need shortening depending on where you mount it, do this before you cure the resin. This is not based on any research but an option most transports get in army lists.
Driver. Remove the supports on the steering wheel column first and then the wheel before pulling the other supports off.
Passenger open hands.
Passenger with a wine bottle. Just be careful of the top of the bottle when removing supports.
Passenger with map and legs closer together to better fit the front cab.
This model was designed by Neal Bowskill copyright July 2023 though work was started on this model back in February 2022 for a resin model and back in 2020/21 for a plastic model for personal use.
During the 1930's Laffly produced a range of all-wheel-drive cross-country trucks (and tractors) for military purposes. They were often designed by Laffly and produced in conjunction with other companies such as Hotchkiss who even provided the engines. All featured an additional set of small wheels in front and similar set suspended beneath the driver's cab to help the vehicle cross ditches and obstacles.
The Laffly S15R was a 6x6 all-terrain liaison vehicle (VLTT - voiture de liaison tout terrain) used as a personnel carrier and reconnaissance vehicle. It shared a common design and chassis with the S15T although the S15R had a lighter rear cab and a different transmission that allowed for higher road speed.
This model is intended to provide you with an option for providing a dedicated reconnaissance vehicle for your French forces. The model has lowered window screen options to reduce its overall height and so profile from enemy observation. Though best to dismount your half squad and move them even more quietly forward.
The Germans also made extensive use of the Laffly variants following the Fall of France June 1940.
French Laffly S15R Reconnaissance Vehicle 1/56 scale.
Though originally designed at 1/28 I have reworked those files for the 1/56 scale. This has meant "hardening" some parts to still be viable at this scale and merging some parts into a more consolidated form so that delicate parts become supported by the larger. Some parts are still very delicate so print spares.
The model has been test printed by me on an Elegoo Saturn 8K printer. Using the basic settings and a layer height of 0.05mm. I include the pre-supported files that I used in the test print so you should get a reliable print. The clean up was reasonably straight forward. I use water soluble resin and clean it in very hot tap water. I did need to use a sharp knife to remove some supports that were running close to the model. So pay attention in cleaning before you cure the model. I was able to remove supports reasonably easily from the detailed subframe with out damaging any of the hydraulic parts. Just take a little care in this part of the process to enjoy the best results.
The models consists of the following files:
Main chassis of the vehicle which includes all the sub frame detail. The small obstacle wheels underneath do sometimes partially fail so print spares and cut out failed area and trim a new wheel to insert. I have also added more supports for the stub bracket of the spare wheel as it failed partly.
Road Wheels. Print 7 of these as one is a spare on the rear of the hull.
Curled Stowage Securing Horns mirrored left & right. Fragile so print spares. Mounts on the small front axle before the Obstacle Wheels.
Head light Repairs. I strongly recommend snipping supports off the headlights and small front axle before "pulling" the bulk of the supports off.
Obstacle Wheels. You need 2 and these glue just below the front number plate. Use a tiny amount of greenstuff to assist in their gluing on. Sometimes those under the hull fail to print correctly so print some spares and clip out the ruined part before curing.
Lowered Window Screen. This is delicate. Print twice just so you have a spare. Remove the ulta-tiny support off the Wipers first at the bottom where it comes up from the window frame. Watch the window tilt lock lever on the sides extremely thin.
Lowered Solid Window Screen. Though still very thin this does avoid the wipers snapping off.
Lowered Window screen covered in a heavy tarp to protect it from damage... though it fails to protect the tilt locking lever.
Front Driver sitting on Front & Middle Bench.
Front Bench & Middle Bench as a single piece.
Steering wheel if you do not want to use a driver in the vehicle.
LMG & Pedestal Mount intended to be glued on to a flat surface. The bottom of the mount might need shortening depending on where you mount it, do this before you cure the resin. This is not based on any research but an option most transports get in army lists.
Driver. Remove the supports on the steering wheel column first and then the wheel before pulling the other supports off.
Passenger open hands.
Passenger with a wine bottle. Just be careful of the top of the bottle when removing supports.
Passenger with map and legs closer together to better fit the front cab.
This model was designed by Neal Bowskill copyright July 2023 though work was started on this model back in February 2022 for a resin model and back in 2020/21 for a plastic model for personal use.
No one's reviewed this product yet. Let people know if you enjoyed this model!
| Filename | Size | Last updated |
|---|---|---|
| 1-56 S15R Reconaissance Vehicle STL.rar | 70.0 MiB | 2024-02-28 |
| 1-56 S15R Reconaissance Vehicle Supported STL-1.rar | 82.9 MiB | 2024-02-28 |