
Deweycat V-1 Rocket Launch Site .stl pack - 28mm scale
- Description
- Reviews (5.0)
- Files
Printing and Assembly
This .stl pack is designed for FDM printing. The base plates ( two) and side walls ( Left hand and Right hand) can be printed at a fairly crude .24mm layer but the rails, rail support and rocket should be printed at a fine setting – I suggest .12 mm layers.
The one-piece rocket is intended for resin printing, and a pre-supported .stl in included to that end.
The three rail supports are each unique. The visible bolts on these supports face forward. This is important for assembly.
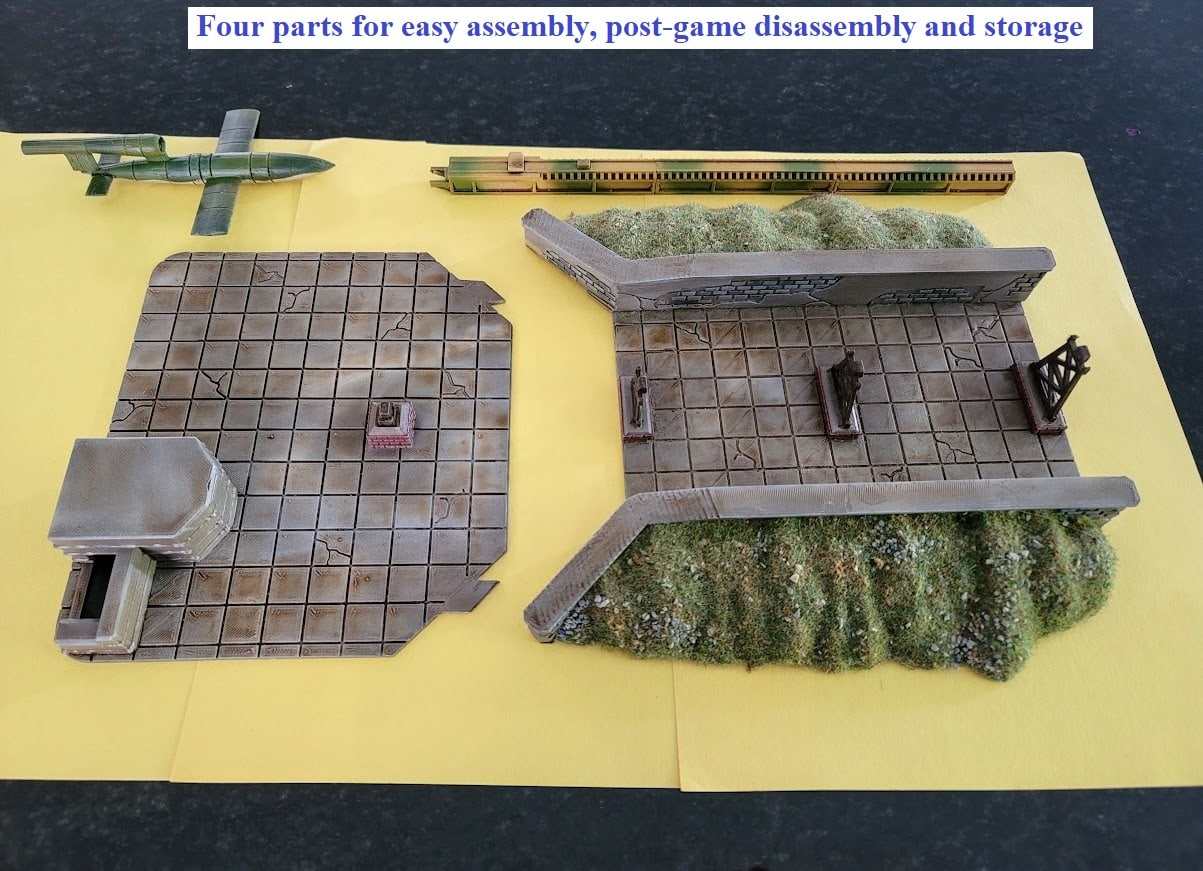
Although the finished model can be all glued into one piece, it can be stored more easily as a four piece item, all "friction fitting with the bayonet lug and recesses in the design.
This .stl pack is designed for FDM printing. The base plates ( two) and side walls ( Left hand and Right hand) can be printed at a fairly crude .24mm layer but the rails, rail support and rocket should be printed at a fine setting – I suggest .12 mm layers.
The one-piece rocket is intended for resin printing, and a pre-supported .stl in included to that end.
The three rail supports are each unique. The visible bolts on these supports face forward. This is important for assembly.
- Assemble the three-piece launch rail. Test fit before applying glue. When you assemble, do so with a straight edge along side; it is important to keep this straight as your adhesive sets.
- Test fit and glue the side walls to the forward platform base. DO NOT glue but ensure the rear platform piece fits into the recesses of the side walls, you want to ensure this part mates for easy assembly and disassembly.
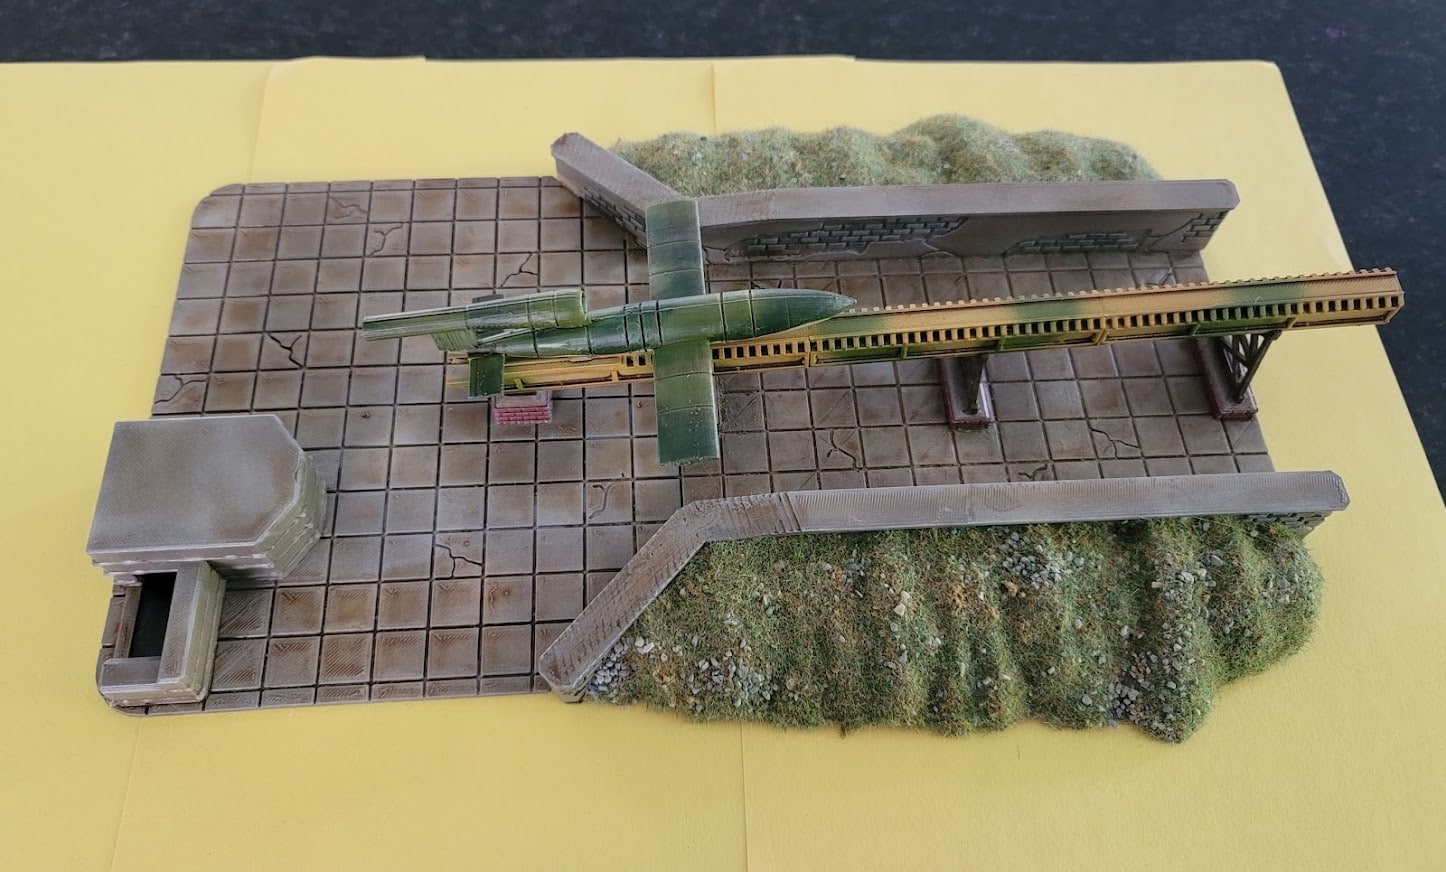
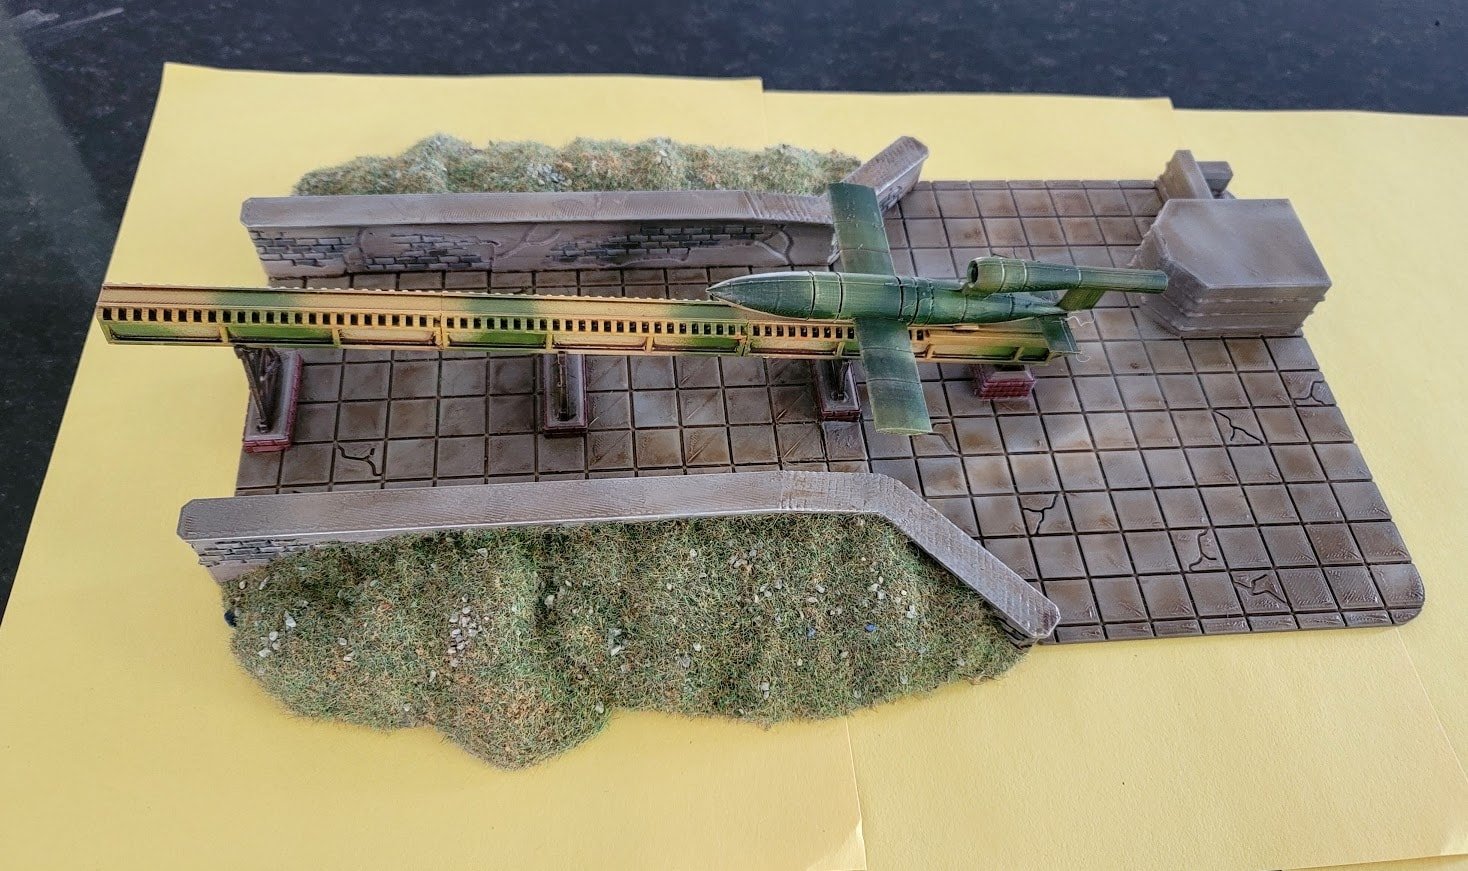
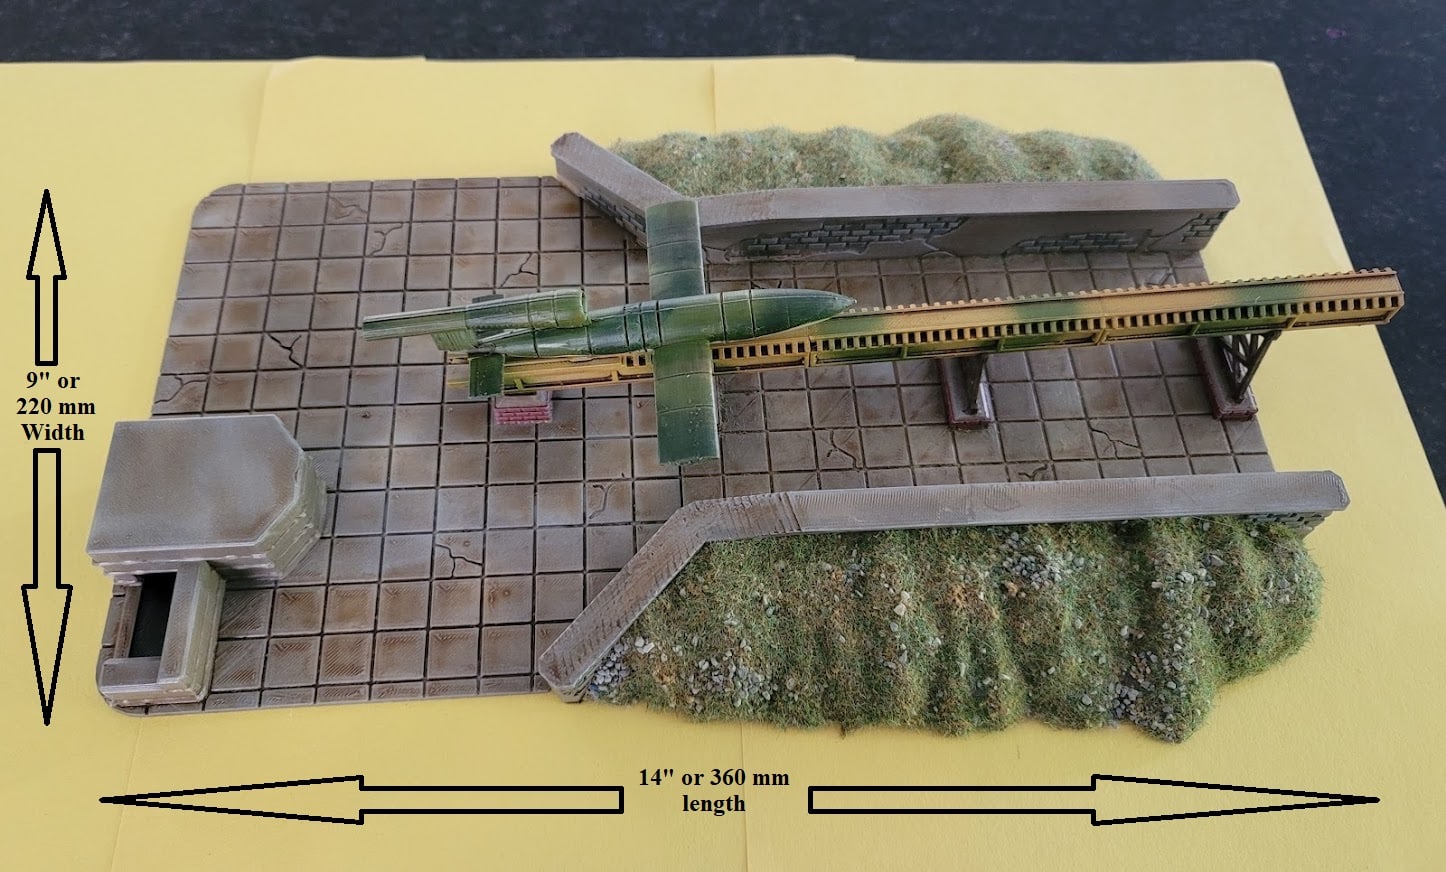
- Once the side walls and forward platform are glued, test fit and glue the supports into the slots as in the photo; place the glued long launch rail and ensure the nub on each support aligns with the recesses underneath the launch rail. This ensures your model will fit together easily. You are only gluing the supports to the base; Do Not glue the rail to the supports; it works better to leave this as a friction fit for gaming and dissemble for easy storage.
- The FDM rocket has two slots that lock the two sections into place. As always, test fit before gluing.
- The rail rests on four nubs – three on the forward platform, the last on the short nub on the rear platform.
- The rocket then rests on the rail, a recess in the underside locks it into the rail for game play.
Although the finished model can be all glued into one piece, it can be stored more easily as a four piece item, all "friction fitting with the bayonet lug and recesses in the design.
Posted by RL on 2025-12-16
Great model! Very impressive on the tabletop. I just hope that the designer will add a version of the blast wall without earth work as this will bring more variety and it's really simple to add the earth work using simple styrophoam modeling techniques
| Filename | Size | Last updated |
|---|---|---|
| Deweycat German V-1 Launch site STL pack.zip | 19.1 MiB | 2026-06-14 |