3D Printing a 1500 Point Flames of War Army in 10 Days
I grew up in New Zealand and went to the South Auckland Miniature Wargames Club as a child when Flames of War was being playtested, but due to my collection at the time being 20mm, I ended up playing Rapid Fire. It took me about 15-20 years to actually get around to creating an army. It started last year when I picked up a box of Plastic Soldier Company 15mm figures with the intention of 3D printing tanks using my Monoprice Maker Select V2, which I never go around to, due to not liking the print quality at such a small scale.
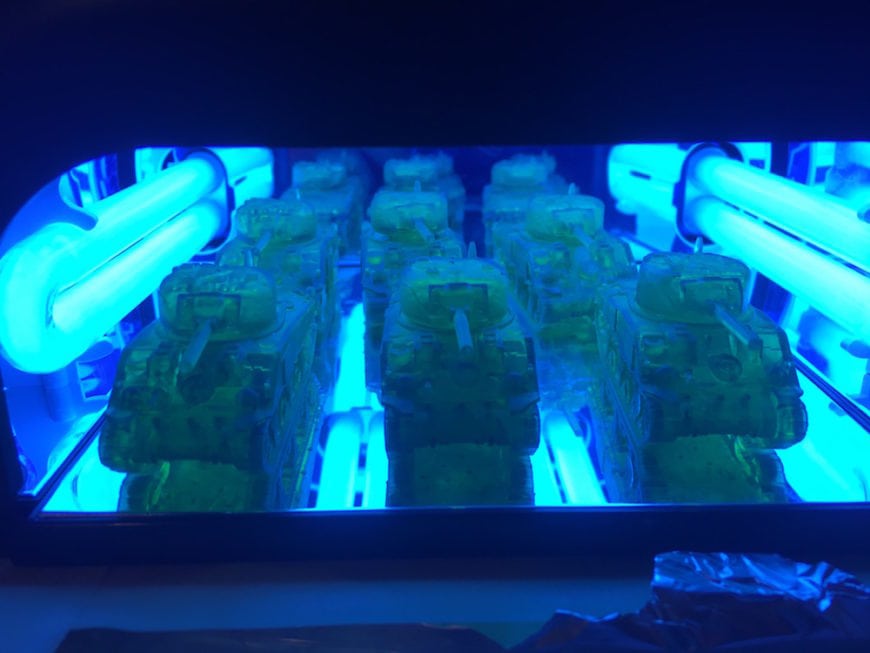
This year I purchased a Anycubic Photon during black friday week, and finally had the means to print decent tanks for smaller scales. I’d been inspired by completely 3D printed armies for Epic 40,000 and The 9th Age that I’d seen over at Brumbaer, so thought I’ve give it a go myself.
Having a Plan
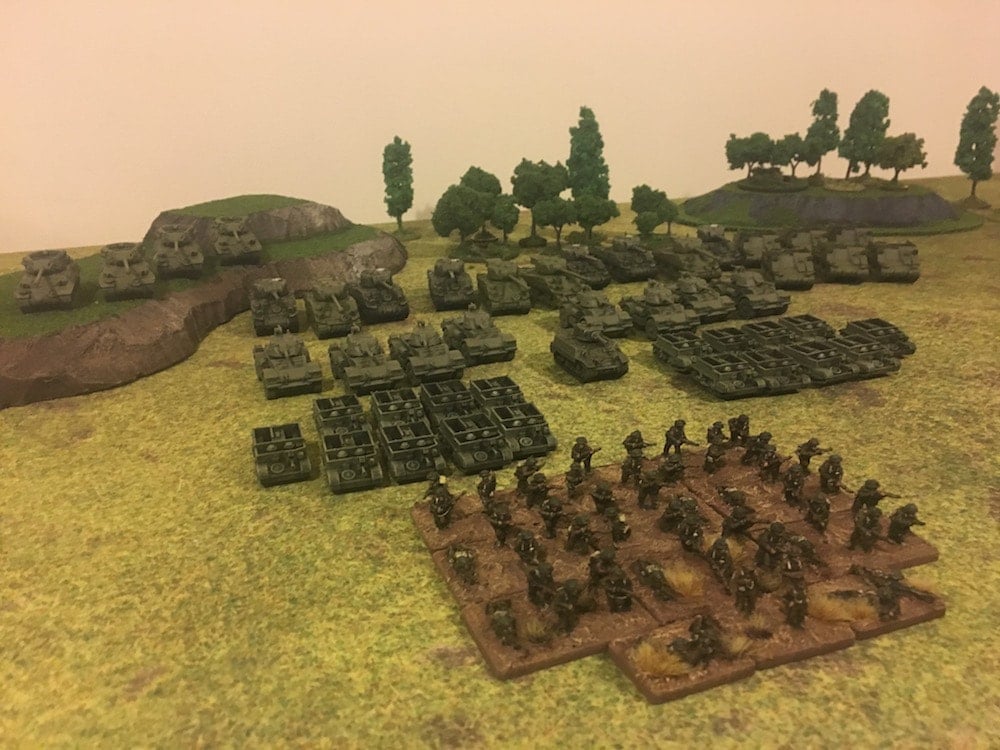
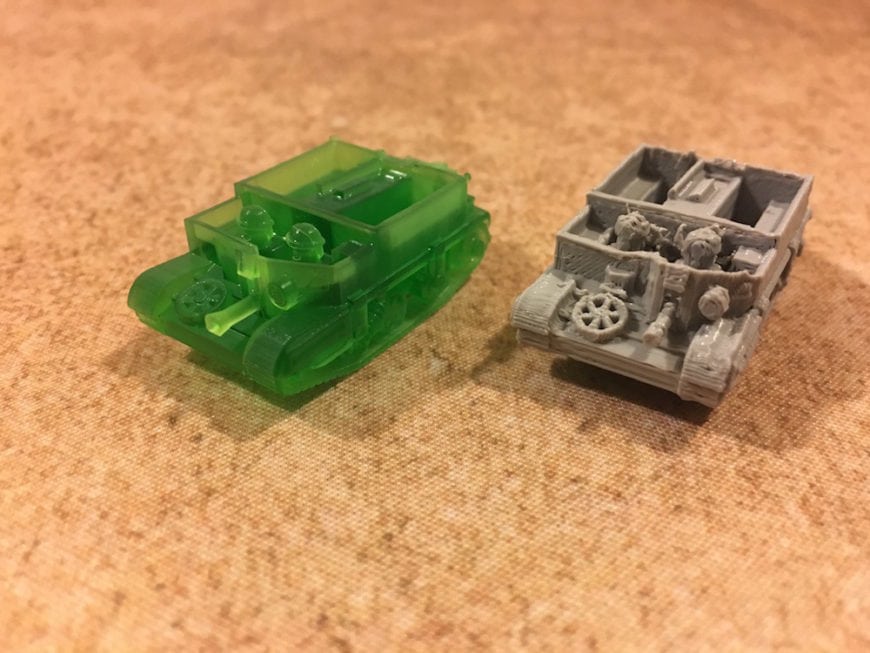
One of my first test prints was a universal carrier in 1:100 from the m_bergman files, but I quickly realised that I needed to have some sort of plan to what I was printing, to ensure that a) it would be playable and b) would print in a reasonable amount of time. So I built a 1500(ish) point army using one of the selectors on the Flames of War website.
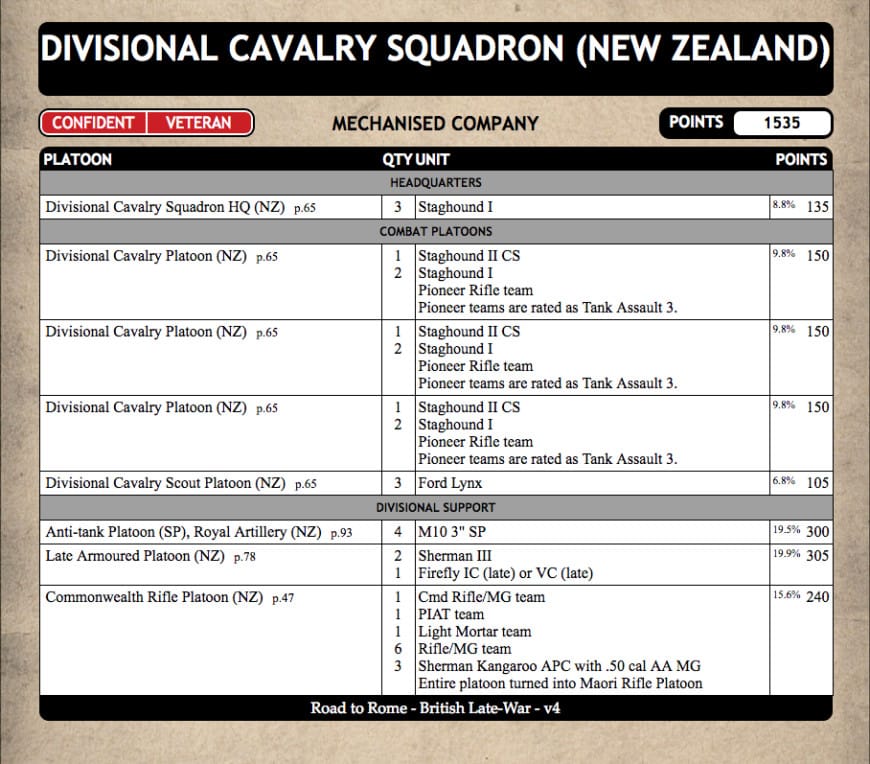
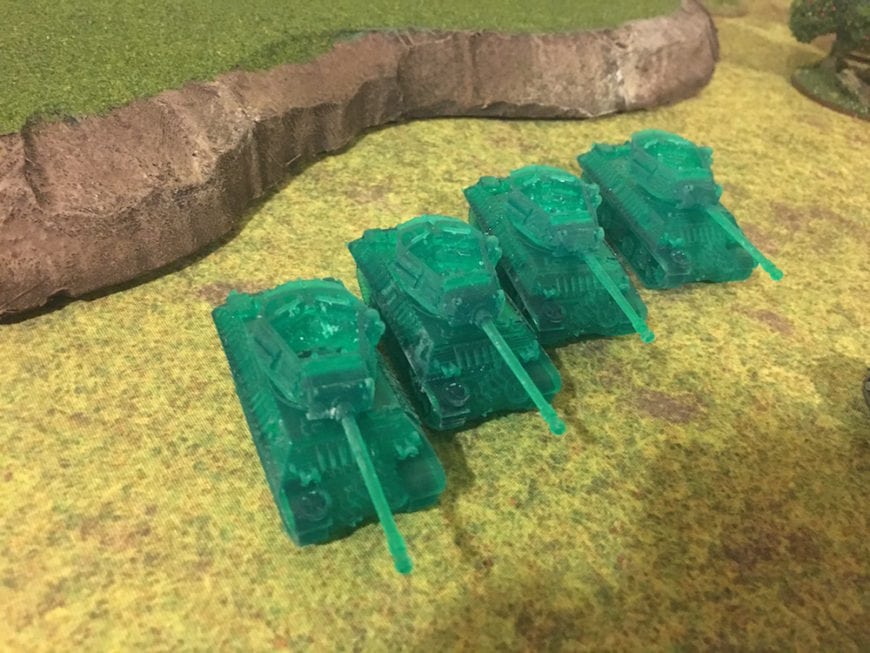
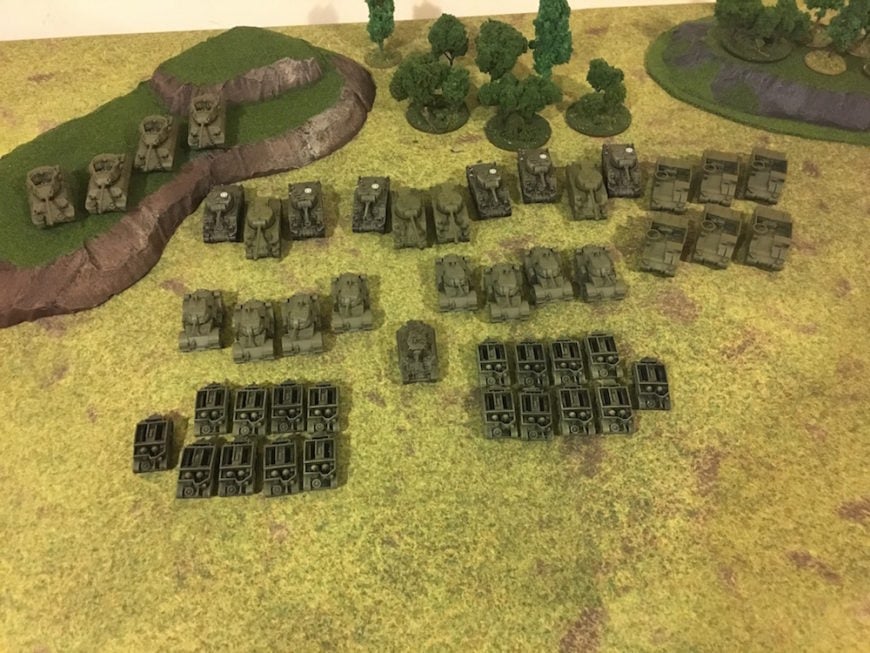
As with most of my historical armies, it had to be New Zealand, and reasonably historically accurate. I’d liked the staghound model when I printed it in 28mm, and upon not finding it in the Flames of War British Unit Cards I set on a mission to find out where it was. Eventually I found the Road to Rome lists, and settled on a New Zealand Divisional Calvary army, which would allow me to print mostly vehicles, give me a bit of infantry and field something other than just Shermans.
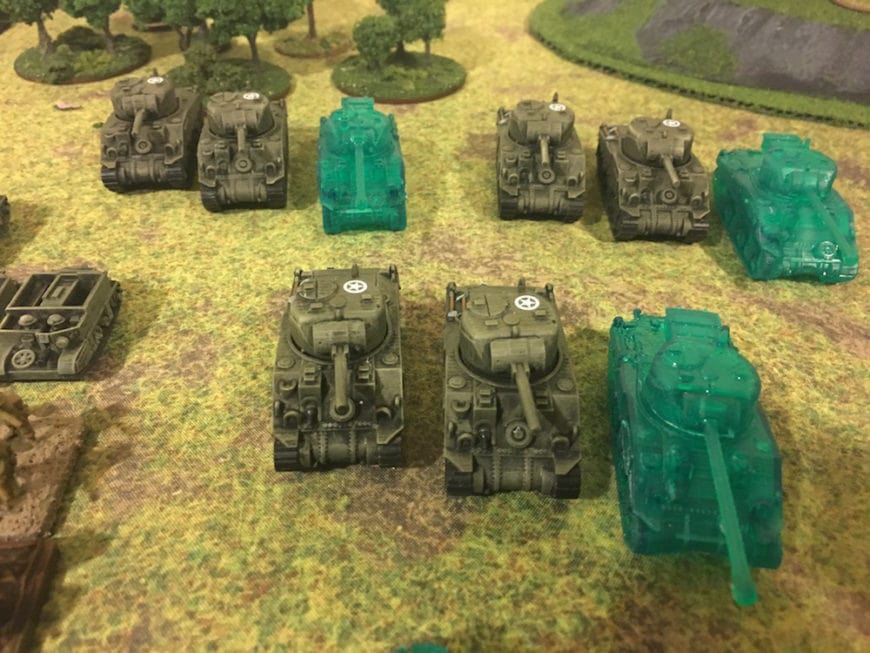
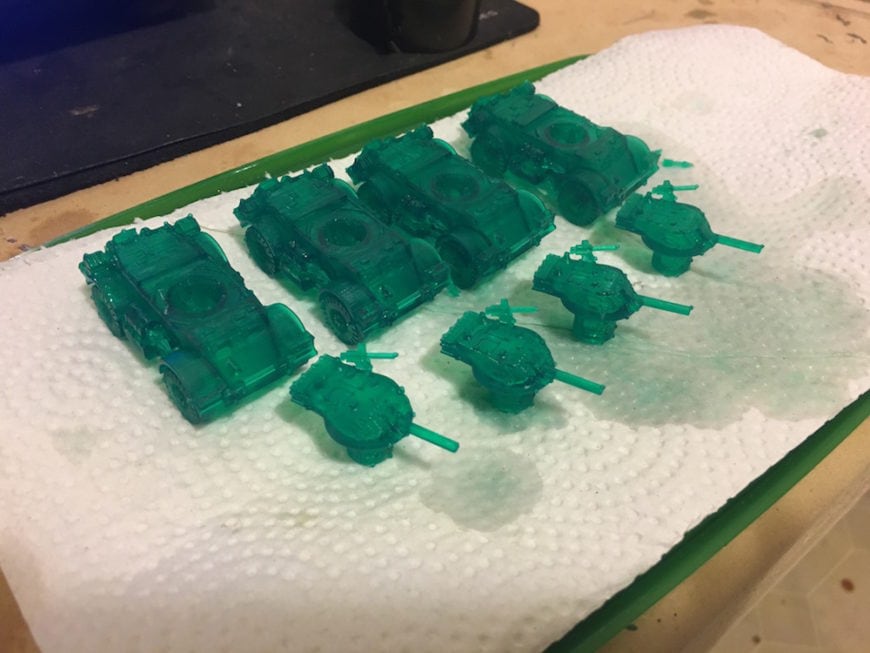
With this list I needed to print:
- 9 Staghound Is
- 3 Staghound IIs (CS)
- 3 Daimler Dingos (I printed Daimler Armored Cars by mistake, which I’ll still be able to utilize)
- 4 M10 Wolverines
- 2 Sherman IIIs
- 1 Sherman Fireflies
- 3 Sherman Kangaroos (I printed Priest Kangaroos instead, as they were used by New Zealand in Italy)
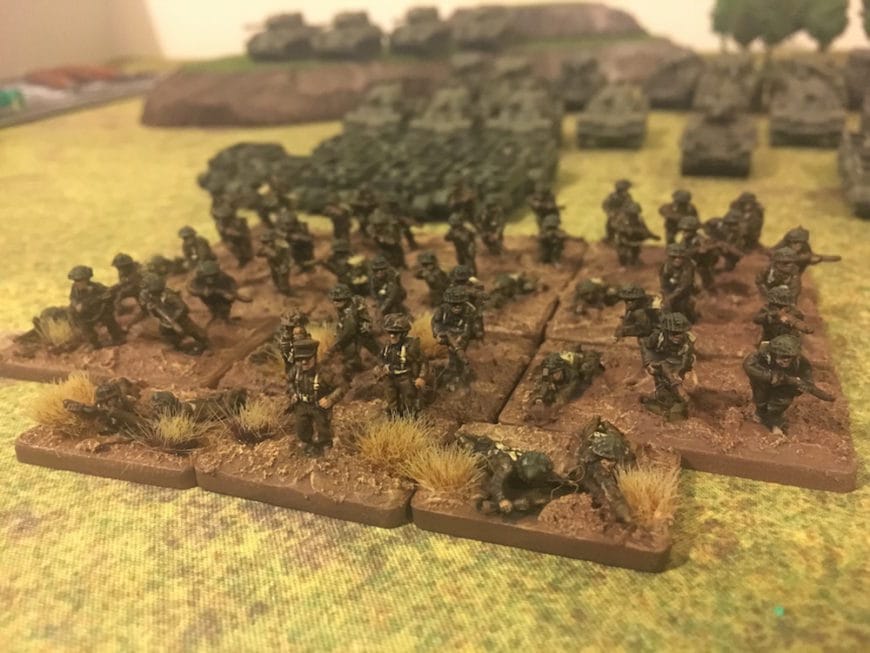
And base up a few units of infantry I had lying around. If I was to purchase this it would cost:
- 9 Staghound Is [BR350] ($10.99 each = $98.91)
- 3 Staghound IIs (CS) (~$10.99 each = $32.97)
- 3 Daimler Dingos [BR310]or BBX47 ($14.99 for a pack of 3 or part of box for $29.99)
- 4 M10 Wolverines [USO201] ($11.99 each = $47.96)
- 2 Sherman IIIs [BR119] ($13.95 each = $41.85)
- 1 Sherman Fireflies [BR121] ($12.50)
- 3 Sherman Kangaroos [BR203] ($13.50 each = $40.50)
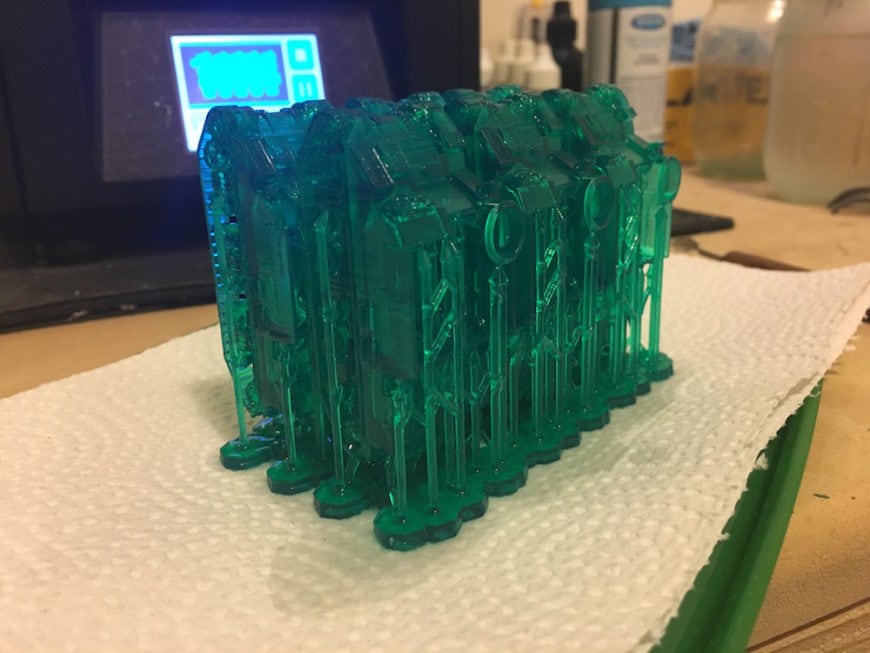
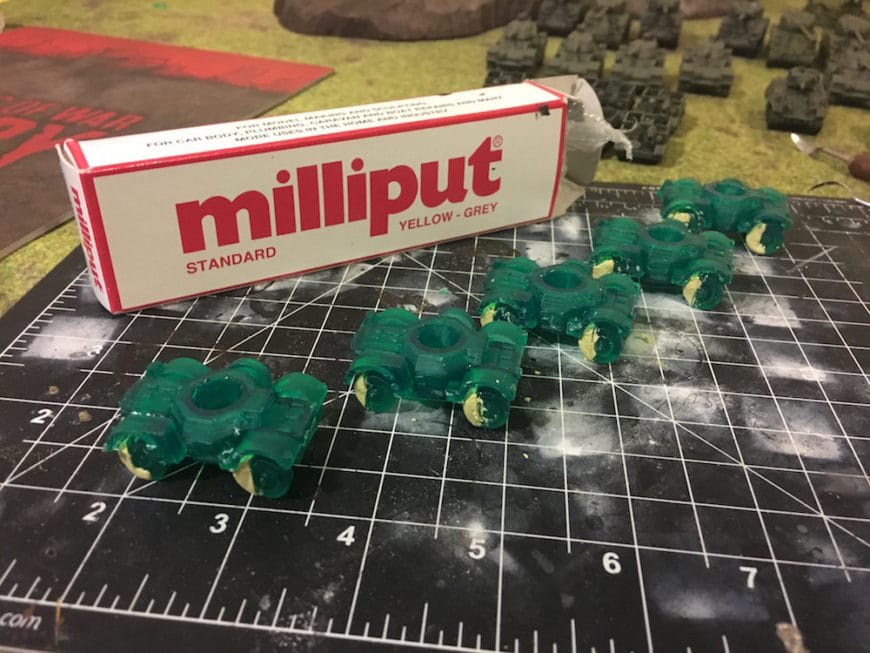
Total cost to buy would be around $290 USD, all up I went through two bottles of resin, where I ended up printed a tonne of extra vehicles (some due to getting designs mixed up, i.e. for the dingos) including Daimler Armored Cars, Universal Carriers, extra Kangaroos, Shermans and Fireflies, Stuart tanks etc which cost me $60 plus the cost of a box of infantry at around $30 (If it was an American or German army I could pick up boxes for around $6 from Dreamforce Games) and decals ($12 per pack) making it a very affordable entry into playing Flames of War for me.
At a cost of around $450 for the printer (Anycubic Photon – you can read my idiots guide to Resin here), I think being able to print out around $300 worth of miniatures for $60 and 10 days worth of printing in my spare time isn’t half bad. Of course it’s not just down to cost, I like the fact that if I want to, I can customize the models by adding stowage, find oddball variants and the satisfaction that I can say I made the army myself.