-
×
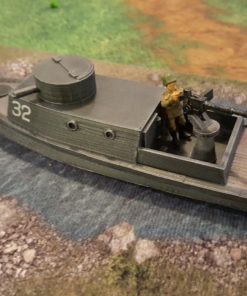
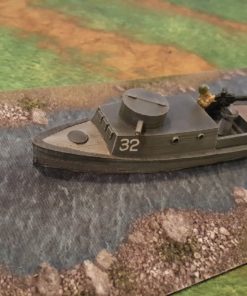 Soviet D-Class Riverine Boat
- Created by:
DeweycatProductions
Subtotal: $5.00
Soviet D-Class Riverine Boat
DeweycatProductions
Subtotal: $5.00


$5.00
The Pacific War featured numerous contested amphibious landings, all encompassing savage fighting. The Battle of Tarawa in November 1943 would rank among the most savage. The battle occurred in the Tawara atoll on the small island of Betio. The narrow island, only feet above sea level, featured an air strip and little else. Its strategic importance was clear to both the Allies and the Empire of Japan, though, as it was a major steppingstone towards taking the war to the Japanese mainland.
The Japanese defenders varied from elite Naval Landing forces and army units to impressed Korean labourers. Defenses were well planned and constructed. Among those defenses was the Japanese Command Bunker, which was directly with the Marine’s Red Beach 3 landing area.
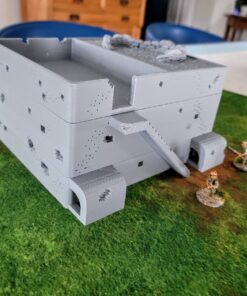
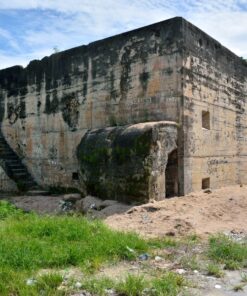
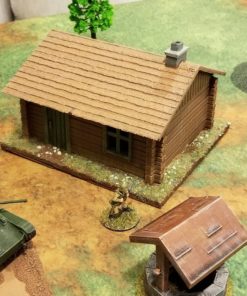
This was a two-storey concrete building with a roof top gun position, situated near the airfield on the island. The bunker took a battering from the extensive naval and air bombardment, but ironically the Japanese commander Shibazaki was killed when he stepped out to confer with other officers, as the bombardment had broken all communication cables to the command bunker.
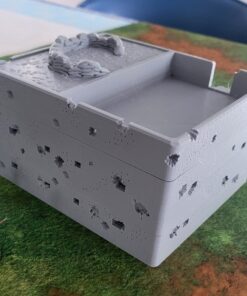
The bunker stands to this day, still showing both the damage from the shelling and the significant strength of its construction.
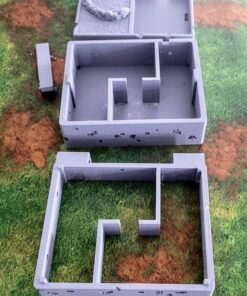
This .stl was sized to fit on most FDM printer beds, and it a four-part print; ground floor, middle floor and roof, with an exterior stairway up the back. None of the parts should be glued; they all fit with bayonet style lugs. This allows fighting floor by floor if required.
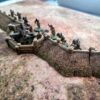
I provide for the pristine pre-barrage option as well as a battle-damaged model. That battle damaged one in the in the pictures.
This was printed at .24mm layers in FDM with supports from the build plate. do not glue any part, as the disassembly in games will be required. The parts alls easy disassembly.
You are not logged in
Historically Accurate
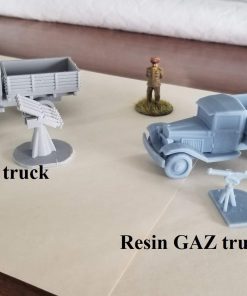
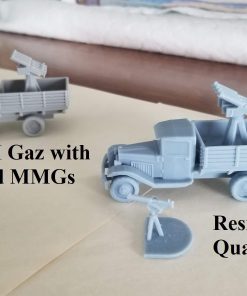
Soviet Gaz Cargo and Anti-Aircraft Truck – updated September 2020
Daniel Kardas (verified owner) –
As usual…your models are awesome. I purchased this one and made the undamaged version that came with it looks great. Keep up the great work!