No products in the cart.
1/300, 3D Printing, Bolt Action, WWII
3D printing a 1/56 WWII Kriegsfischkutter from a 1/300 source file

16
Jun
Jun
Recently, one of our customers – Hendrik De Coster had this crazy idea to take the 1/300 file for a kriegsfischkutter designed by Black Hussar Miniatures and upscale it to create a 1/56 resin printed version. We thought he was crazy, then he sent the photos of the results. We asked him to provide a short write up to share, because it looked so good – here is his story:
So, I was asked to write up an article on my 28mm kriegsfischkutter. My mates and I are currently busy on a Pegasus bridge table, and while a really cool table to build, I always thought it was very one dimensional play. “capture the bridge and hold the bridge”. Aside from changing the units that try to capture and hold the bridge we won’t get much variation.
At least, that is until I read this lovely little tidbit on D-day hour-by-hour:
05:25– Three German gunboats fleeing from Ouistreham on the Canal de Caen are intercepted by the men of Major Howard at the Pegasus Bridge: one is destroyed, another is stranded nearby, and the third takes refuge further north in the area of Le Maresquier.
Suddenly the battlefield wasn’t so one dimensional anymore, as now german forces could appear on the channel itself. And suddenly you have sort of a flanking force. Now I didn’t really research the entry, so I have no clue what gunboats that actually were present but the kriegsfischkutter model posted on wargaming3D certainly offered a lot of conversions opportunities.
Think of it, it has two large gun platforms that theoretically could hold any type of weapon, and the general deck is big enough to fit smaller weapons too.
Now obviously, it would be impossible to print this 1-300 model on a single go on my newly bought anycubic photon as the anycubic’s print volume is only 115mm *65mm *155mm whereas this boat rescaled to 28mm measures about 42cm.
In addition, my 3D modelling skills limit themselves to the following:
- Rescaling in meshmixer
- Using the cut plane function in meshmixer
- Using the separate shells function in meshmixer, as well as the combine functionIf I
If I’m honest, any 10 year old would probably be better in working with those than me! What I ended up was cutting up the entire hull in 5 pieces,as well as some smaller pieces.
It ain’t rocket science, but it worked!
After that came the job of printing all of this. In the end it took over 50hours of printing and about half a liter of resin to print this bad boy.
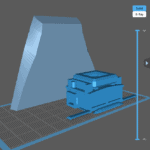
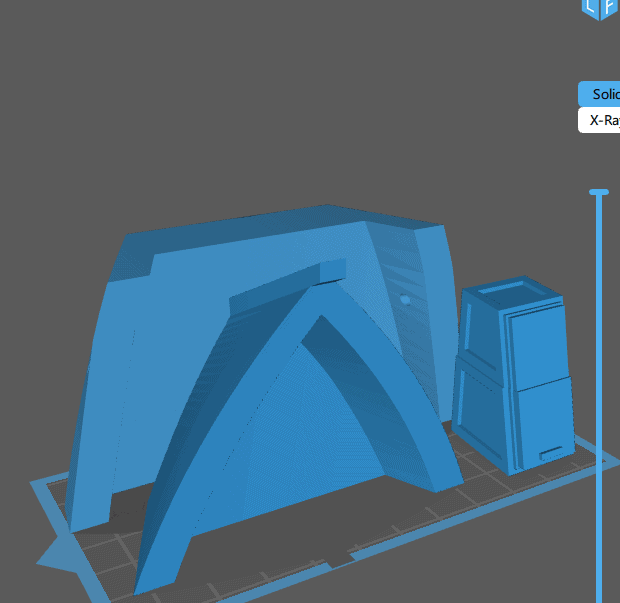
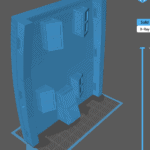
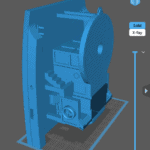
One of the things I had to do to get the entire thing fit was to place cut off about 15mm of the bottom of the hull. Since I have access to a lasercutter at work (but you could check out a local makerspace) I decided to use some lasercut sheets to reconstruct the bottom part. I did this by using Autodesk slicer. In addition to being cheaper than resin, laser cut mdf also offers the benefit of offering a stable base on which I can glue the resin parts. Afterwards I took a Dremel to the mdf and sanded it all down, carefully wearing a dustmask.
Below an overview of how this bad boy came to life in pictures
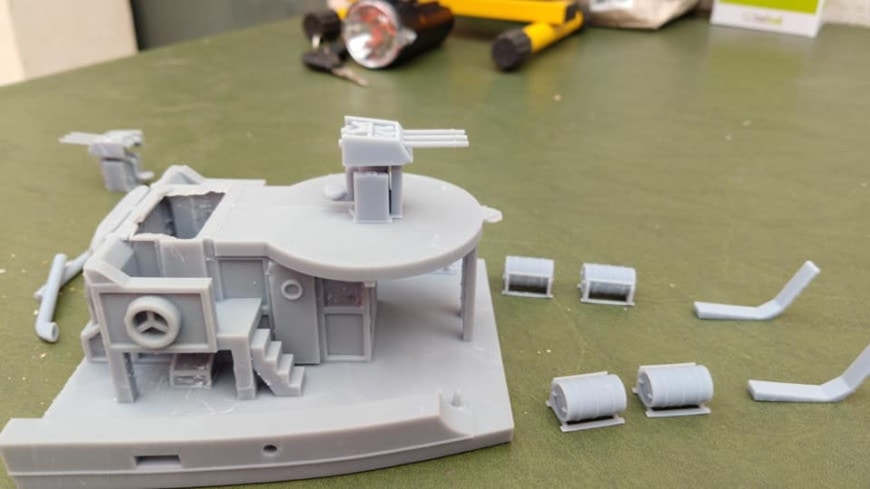


And here she is after sanding down the mdf, right behind the same print in 1-300 scale model.
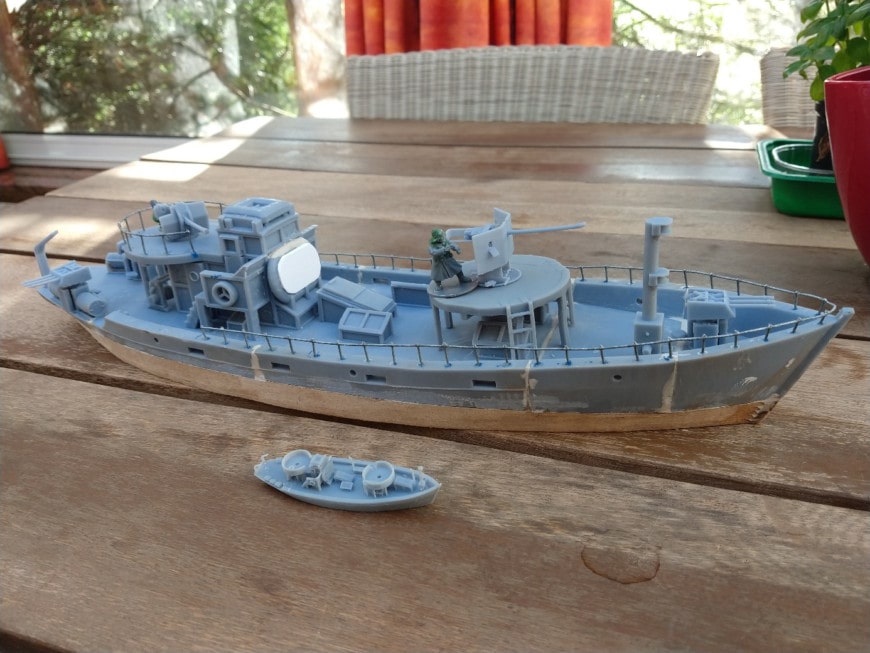
Up next, painting this bad boy, as well as making a crew!
thats so awesome